How to Photograph the Night Sky: Beginners’ Guide
If you've been using the Sky Tonight and Star Walk 2 apps to go stargazing you’ve probably wondered how to take photos of the night sky. Although it’s best to use a manual mirrorless or DSLR camera, the latest flagship smartphones are capable of taking some great night-scapes. With these tips and tricks you can start taking and sharing your own images of the night sky as you learn how to stargaze.
Contents
How to photograph the night sky: manual cameras
The best way is to use a camera that you can manually operate. That's because the night sky is dark. So to get enough light onto a camera sensor means opening the shutter for anywhere from about 10 seconds to several minutes, depending on the kind of shot you're taking. Of course, you'll also need a completely clear sky if you are to get a successful shot.
Equipment you’ll need
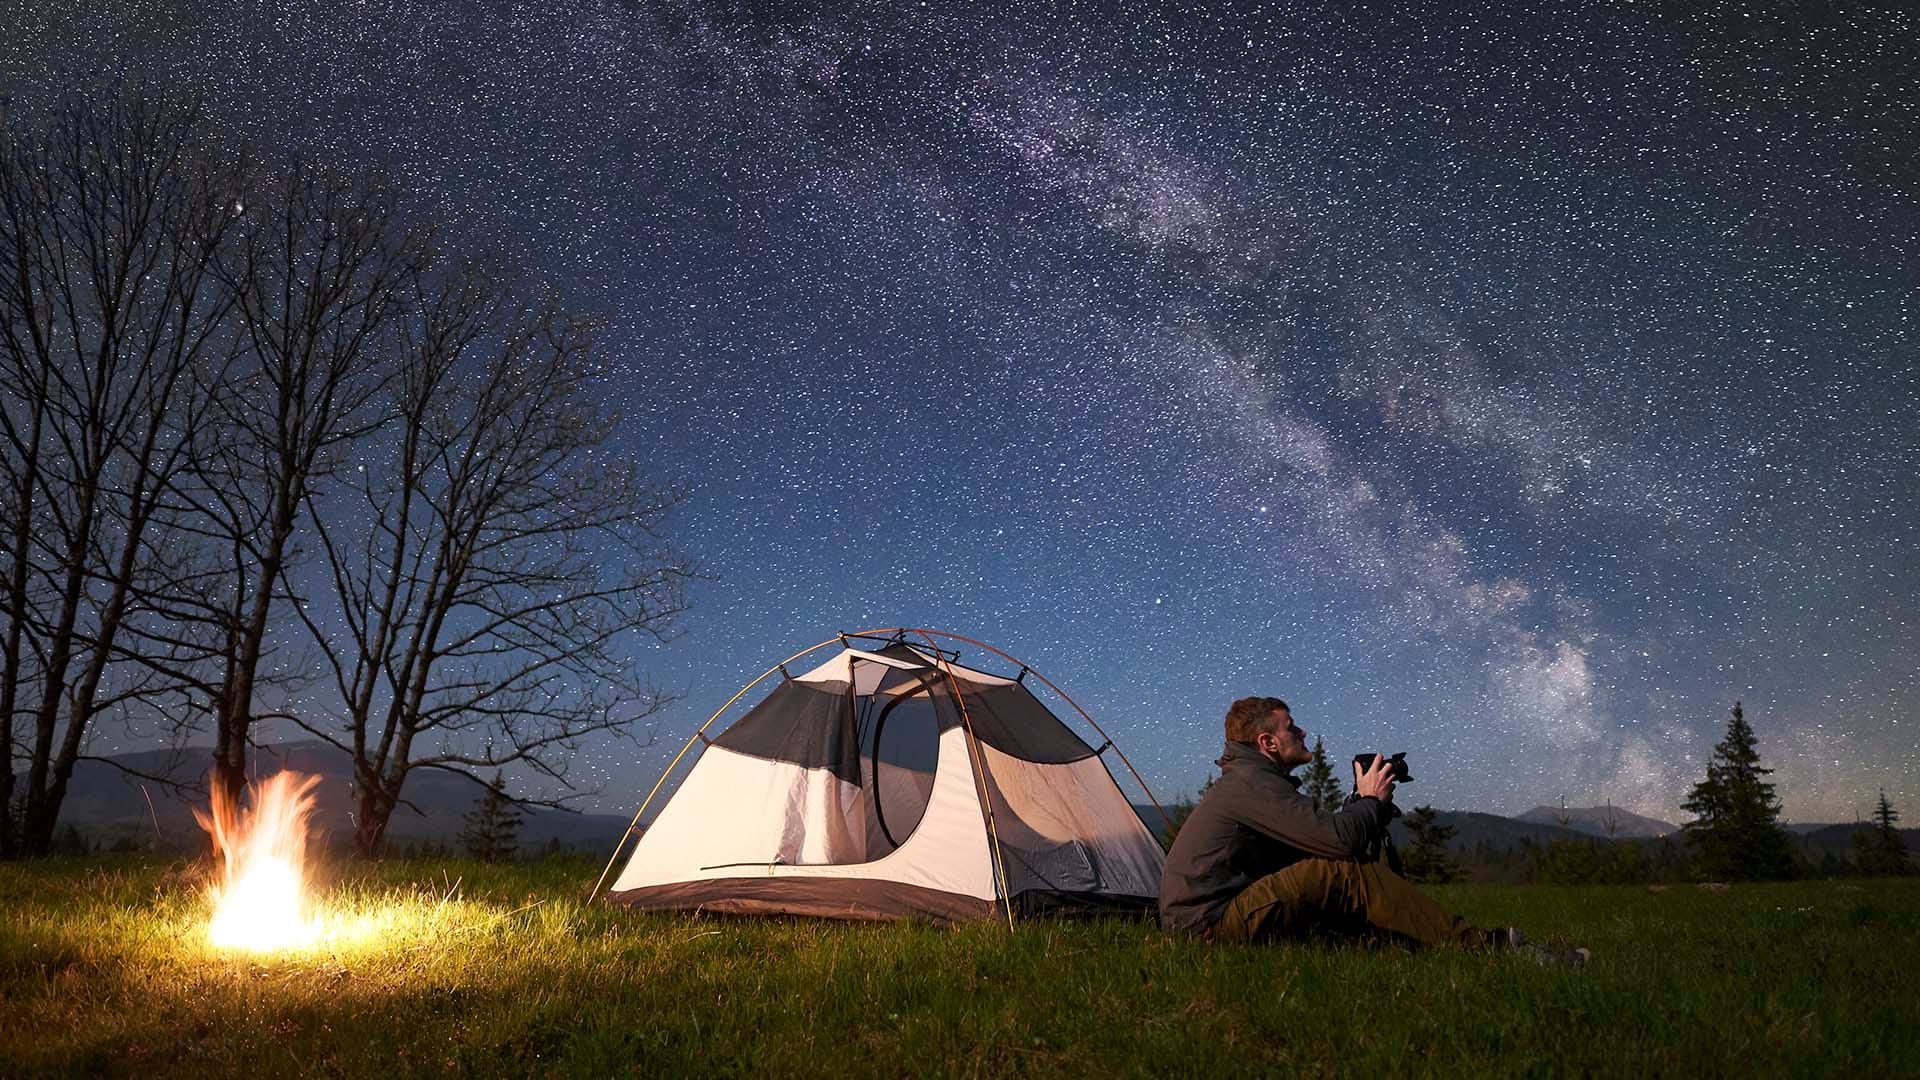
Any kind of mirrorless or DSLR camera can take a good image of the night sky. You can use whatever lens you have access to, but the wider angle it is, the better. For a wide open night-scape image featuring stars above a landscape or buildings you can use anything from 14 mm to 50 mm. Aperture is also important. The faster your lens, the better, with an aperture of between f1.8 and f4 ideal. Other equipment you need includes a good tripod to keep your camera still at all times. A shutter release cable can also be useful for preventing any vibrations that will blur your image, though you can instead use a shutter delay of two seconds.
Set-up and focusing
Astrophotography can be a very complicated and expensive hobby, but the basic technique for taking an image of the night sky using any manual camera is simple. It just takes a little practice. With your camera on the tripod, it’s time to focus your lens (never use auto-focus). There are two ways of doing this. You can put your lens in manual focus and set the dial to infinity (the ∞ symbol). Or you can shine a bright torch on something in the middle distance and manually focus on it using the ‘live view’ LCD on the back of the camera. After you've taken the shot, zoom in on the LCD and see if your stars are sharp. If they are not, simply repeat the process until they are.
Settings to use
Taking any manual photograph means deciding on your settings for ISO, aperture and shutter speed. Exactly what settings to use will depend on your camera and the ambient light conditions around you, but some good basic settings are ISO 800 for a clean shot, as small an aperture as your lens offers (such as f2.8 or f4) and a shutter speed of 20 or 25 seconds. Take lots of test shots.
Post-processing
When you look at your night sky photographs on the back of your camera they may not look very impressive. However, if you shoot in the raw format rather than just in JPEG you can extract the photos from your SD card and put them into post-processing software such as Adobe Lightroom or Photoshop. Processing night sky photos is an art, but if you experiment with settings including white balance, exposure, temperature and noise reduction you can reveal an incredible amount of detail in the night sky.
Photographing the Milky Way
Capturing our galaxy arcing across the night sky is one of the most beautiful shots you can get at night. The basic technique is identical to any night sky shot, but you need to plan this shot. The Milky Way looks its best in moonless night skies between May (very late at night in the southeast) and September (visible in the southwest after sunset). Sky Tonight will tell you the Moon phase.
Star-trails and meteor showers
Ever wondered how to create circles of stars? Star-trails are easy, but they do require some patience. Using the same basic technique above, tweak the settings until you can get a good looking photograph while using a 30-second exposure, usually by slightly reducing the ISO and/or aperture. Once you're happy with the result, use a compass to point your camera north (towards Polaris, the North Star) and take as many 30-second exposures as you have the patience to. With at least 100 identical photos, extract the JPEGs from your SD card and drag them into either Photoshop or the free StarStaX software. You can then easily output an incredible composite image of a star-trail. This is also the best way to capture a ‘shooting’ star during a meteor shower (you can find the dates on the Sky Tonight and Star Walk 2 apps).
International Space Station (ISS) and satellites
Use the Satellite Tracker app to find out when and where the ISS or the satellite is coming from. About 250 miles/400 kilometers above, the ISS always comes from the west or southwest and disappears in the east or northeast. Get in position a few minutes before a predicted pass and point your camera west-southwest. As soon as you see the ISS – a bright, white light – press the shutter button on your camera, using the same settings as before. It’s best to experiment beforehand and get a good, sharp starry sky image a few minutes before the satellite appears.
How to photograph the night sky: smartphones
Taking photos of the night sky using a smartphone won’t get you as impressive results as with a manual camera, but the gap is narrowing. The latest flagship smartphones have bigger sensors and increasingly good low-light and night modes.
Equipment you’ll need
The only thing you need to take photos of the night sky using a smartphone is a tripod. Various sizes are available, mostly using a spring-loaded universal holder. Make sure you choose one that is stable. A Bluetooth remote can also help so you don’t have to touch your smartphone to open the shutter, which avoids wobbles and blur.
Settings and technique
Unless you use a manual camera app the only way of taking photos of the night sky using a smartphone is via your device’s dedicated night settings. They are called ‘Night Mode’ or ‘‘NightSight’ depending on your brand of smartphone. They use light sensors to calculate the length of the long exposure, keeping everything automatic, though if there is a manual mode you can choose the ISO and exposure settings.
Photographing the Moon
Some flagship smartphones also have special ‘moon mode’ that can zoom-in on our natural satellite. Even if you don’t have such a mode on your device you can try taking close-ups of the Moon through any small telescope. Simply get the Moon in the eyepiece of the telescope then hold the smartphone’s camera lens across the eyepiece. Touch the screen to focus the camera and fix the exposure. Then take a few shots. To make it easier you can buy a smartphone adaptor for a telescope, which better aligns the smartphone’s camera with the eyepiece.
F.A.Q.
Do I need to find a dark sky to take photos of stars?
It helps if you have a dark sky, but you can take images of the night sky even from a backyard in a big light-polluted city. Just as important is moonlight. Even if you are in the darkest place on the planet, a full Moon will have a worse effect on your night sky photos than light pollution. The best time for nightscape photography is the 10 nights before the New Moon, when the skies are at their darkest.
Can I point my camera or smartphone anywhere in the night sky?
Yes, but a photo that just features some stars isn't going to be very interesting. Think carefully about composition. Try to get something interesting in the foreground of your shot. If you have stars behind a building or a tree your image will be more interesting.
Do I need a full-frame mirrorless or DSLR camera?
For the best quality it helps if you have a mirrorless or DSLR camera with a full-frame sensor, which will pick up more light from the stars and Milky Way and produce less image noise. However, a crop-sensor camera will also take a good image. Try to maximize the camera equipment you already have and avoid buying lots of expensive gear.
Can I go above ISO 800?
Many modern manual cameras can cope with very high ISO. In fact, some night sky photographers would never use anything less than ISO 3200. However, older crop-sensor cameras almost always produce cleaner shots when used at ISO 800 or below. Just remember that what the image looks like on your LCD screen isn't necessarily a good representation of what it will look like on your computer. Settings like ISO 6400 may look great on your camera’s LCD screen, but it’s risky unless you have a very new camera.
About the author: Jamie Carter is an experienced science, technology, and travel journalist and stargazer writing about exploring the night sky, solar and lunar eclipses, moon-gazing, astro-travel, astronomy, and space exploration. He is the editor of WhenIsTheNextEclipse.com and the author of "A Stargazing Program for Beginners: A Pocket Field Guide", as well as many eclipse-chasing guides.
