Seestar S50 Pro Review: Performance Under City Skies
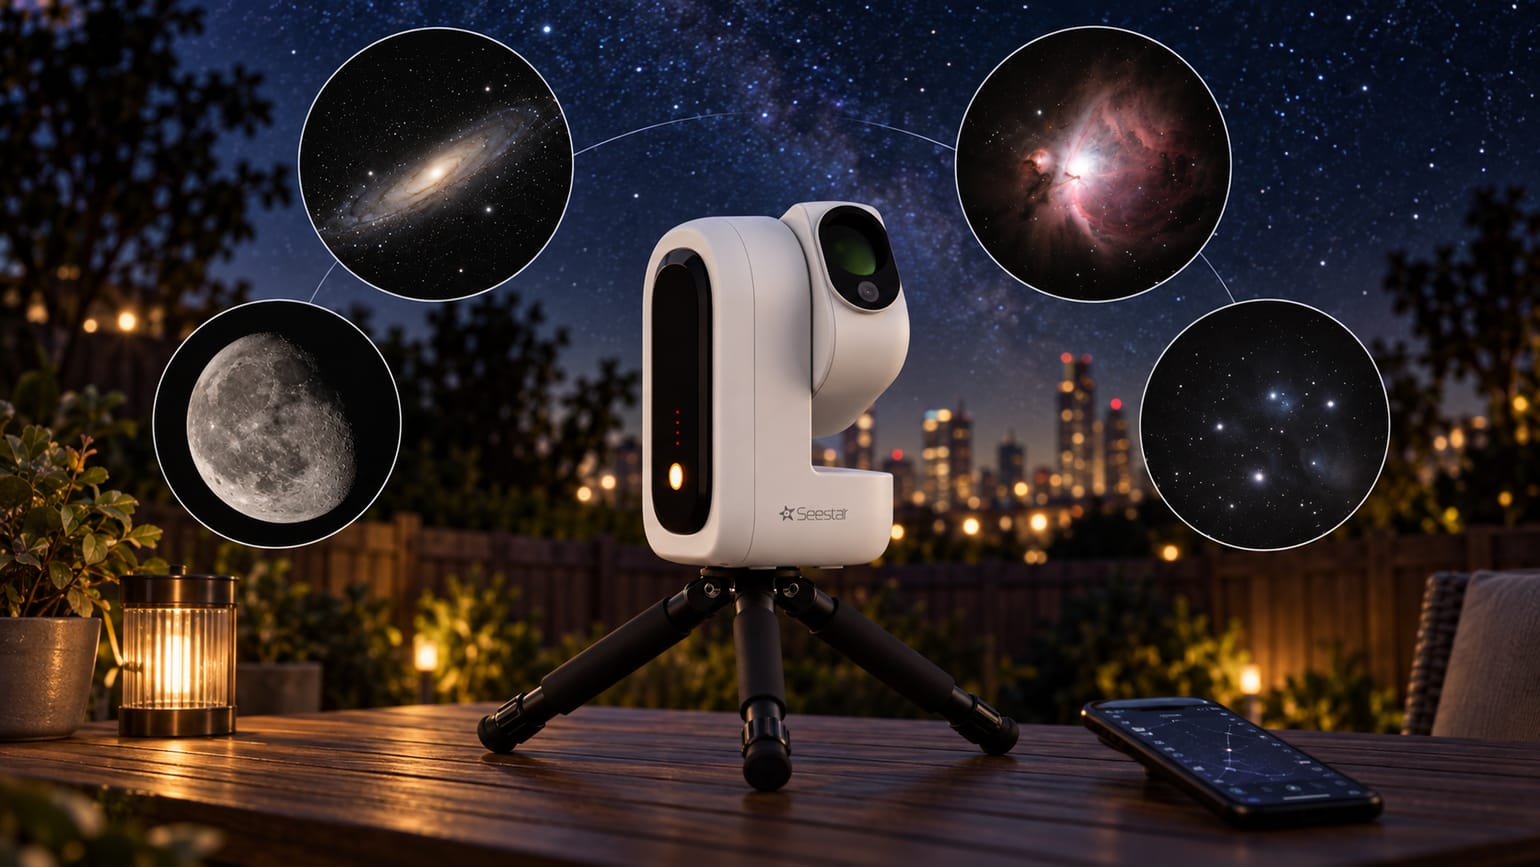
The Seestar S50 Pro is a compact smart telescope designed to make astrophotography almost effortless. We tested it over several nights from a city backyard, photographing galaxies, nebulae, star clusters, the Moon, the Sun, and Saturn. Despite the urban light pollution, the telescope produced surprisingly detailed images while handling most of the work itself — from finding and tracking objects to stacking the exposures.
If you’re considering the telescope featured in this review, you can check the current price and availability of the Seestar S50 Pro for the United States, the European Union, or other countries and regions.
Contents
- What is the Seestar S50 Pro?
- Watching a faint object turn into a photograph
- Plan Mode lets the telescope observe several targets automatically
- Seestar S50 Pro: things to keep in mind
- Seestar S50 Pro: our overall impressions
What is the Seestar S50 Pro?
The Seestar S50 Pro combines a telescope, camera, motorized mount, autofocus system, and battery in a single device. Everything essential is already assembled, and the telescope and tripod fit into the included carrying case.
There is no eyepiece. Instead, you choose an object in the app and view the image on your phone. You can also process and save your photos directly there.
The main optics have a 50 mm aperture and a focal length of 260 mm. The telescope weighs 2.8 kg, and the complete setup is compact enough to carry in its case. In addition to the main camera, there is a wide-angle camera, and both support 4K imaging.
What is it like to set up the Seestar S50 Pro?
Once we became familiar with the telescope, a typical observing session was simple: take it outside, set it up, connect it to the app, and choose a target. Setting up and connecting usually took about five minutes, with a few more minutes needed to choose a target and complete preparation before imaging.
The telescope found targets quickly, and only a little additional time was needed for preparation and calibration before imaging began. After that, the telescope could be left collecting light for an hour or longer. We also tried connecting via NFC, which made reconnecting particularly convenient.
For more advanced imaging, the S50 Pro also supports Equatorial Mode. This can enable longer individual exposures, but it requires suitable mounting hardware and accurate polar alignment, so it is a separate workflow from the quick setup described above.
What can the Seestar S50 Pro photograph from a city?
All the images in this review were taken from the same backyard under heavily light-polluted urban sky (roughly Bortle Class 6). There was little direct light from nearby lamps, but city skyglow was still clearly present: the Pleiades were visible to the naked eye, while the Milky Way was not.
We did not take the telescope outside the city during the test, because we were particularly interested in seeing what it could achieve under these conditions. We also did not photograph the Milky Way — that is something we would rather try under a genuinely dark sky.
Andromeda Galaxy
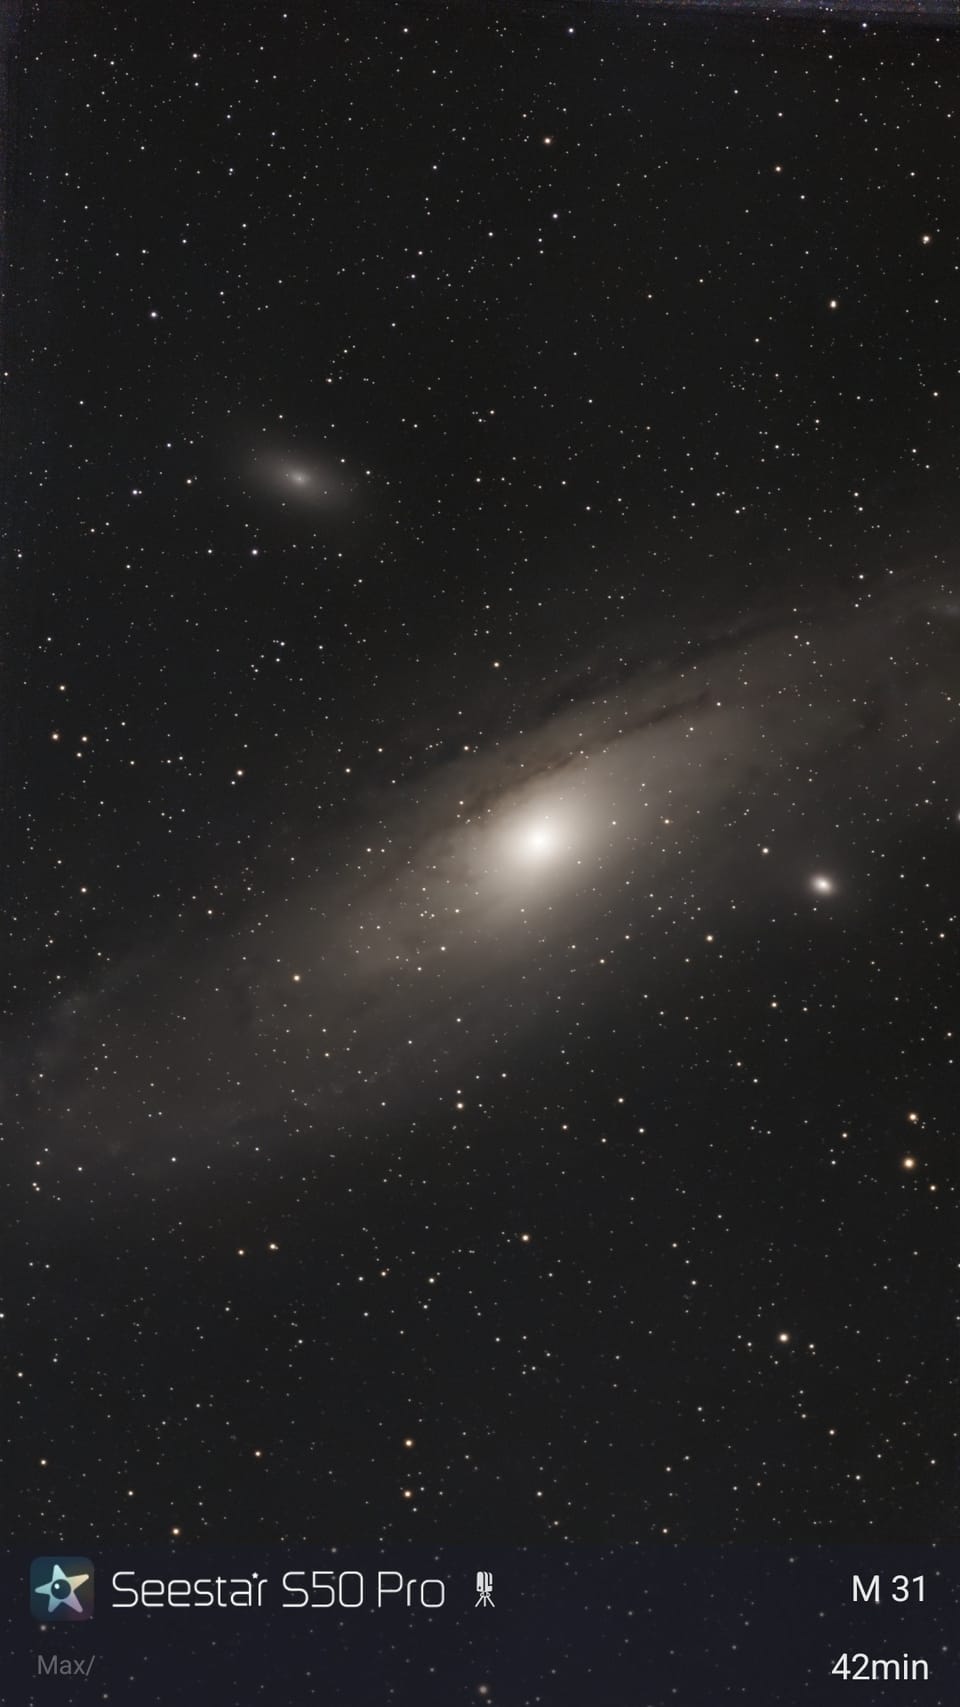
The Andromeda Galaxy was one of the clearest demonstrations of what the telescope could achieve despite city light pollution.
Our best image, with 42 minutes of accumulated exposure, clearly shows dust lanes in the galaxy's disk as well as its two bright satellite galaxies, M32 and M110.
Getting this view of Andromeda with such a compact telescope from a city backyard was truly impressive. It is the kind of result that makes you want to explore the details and share the image with others — and all it required was a relatively dark, clear, Moon-free night.
Orion Nebula
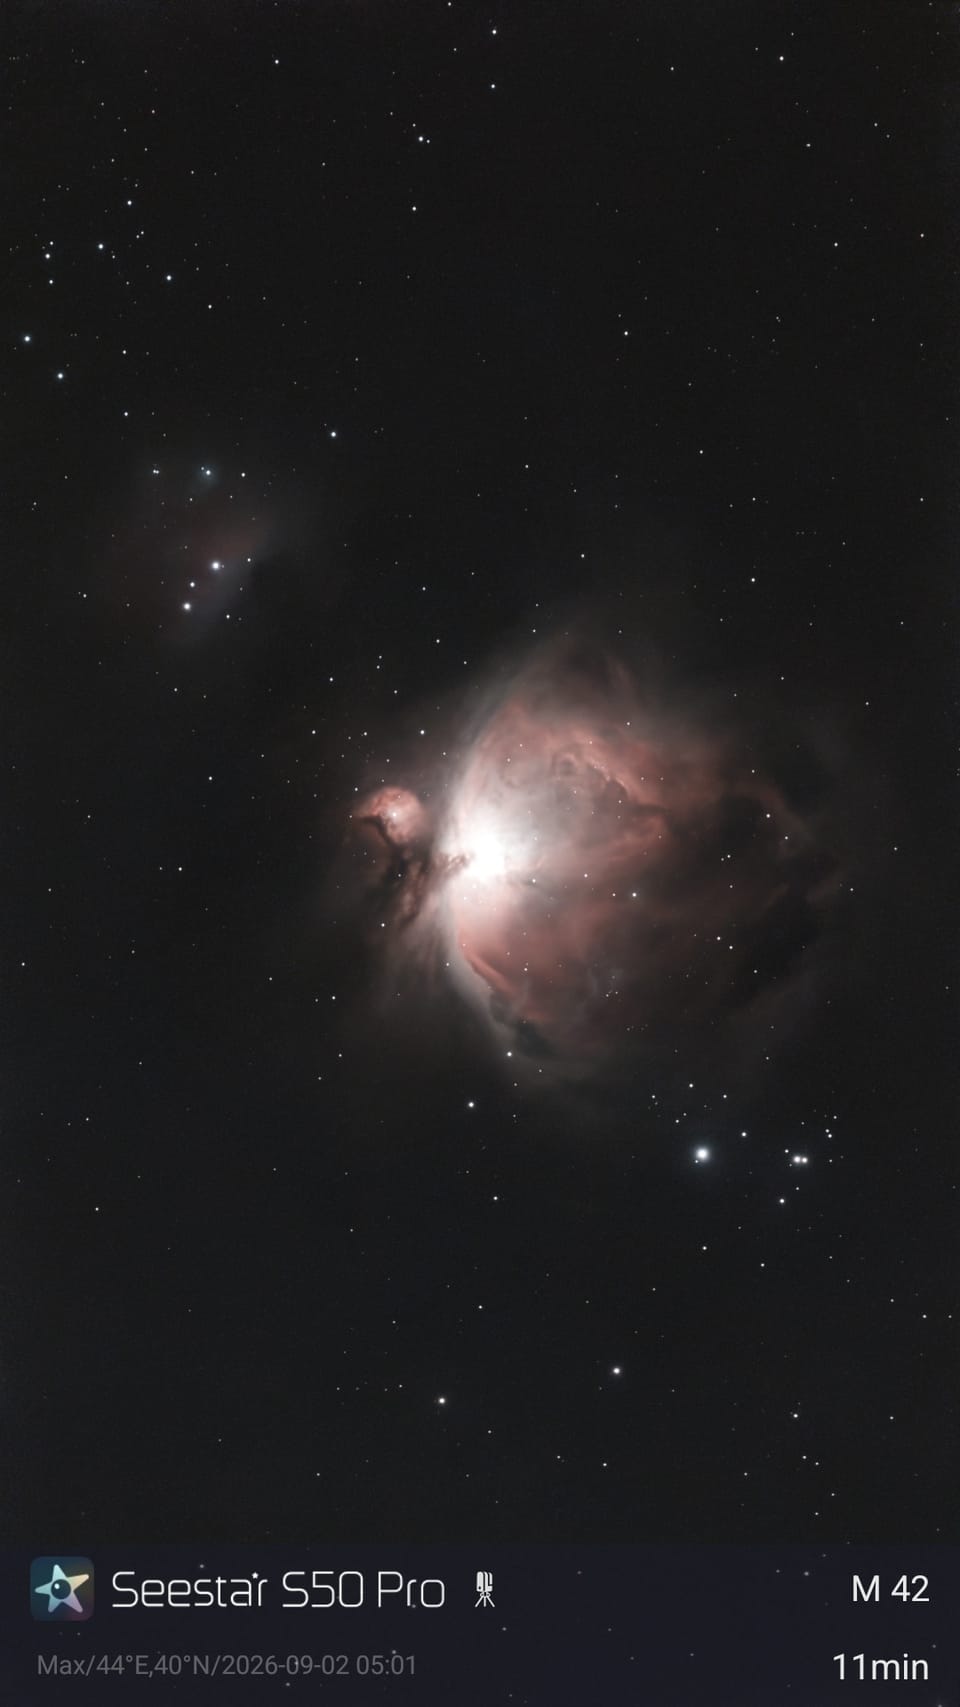
Another classic target, the Orion Nebula, also came out very well. Its bright central region is clearly visible, surrounded by pinkish clouds and darker structures.
This image had just 11 minutes of accumulated exposure. We used the built-in dual-band light-pollution filter, labeled “LP” in the app. For an urban location and such a short integration, the result was particularly encouraging.
Triangulum Galaxy
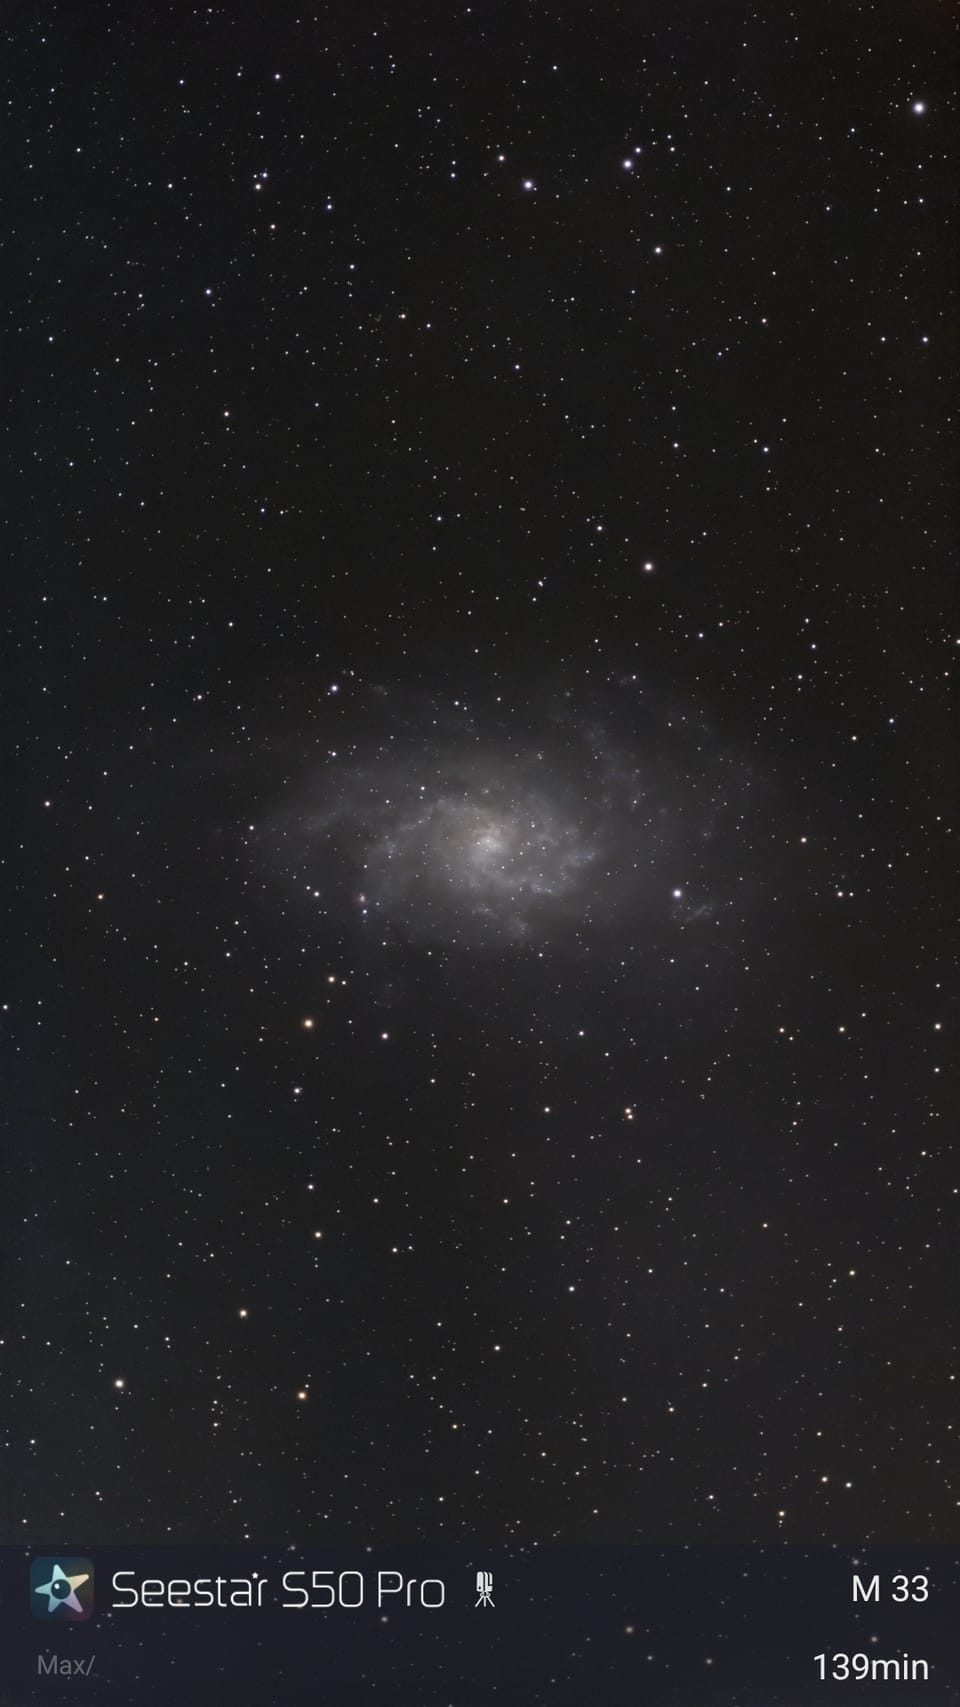
Next, we turned to the Triangulum Galaxy, M33. This object has a very low surface brightness and benefits greatly from long integration times. Even while the image was still being built, its central glow became clearly noticeable.
We eventually collected almost 2,5 hours of usable exposure, revealing more of the galaxy’s faint structure. This is exactly the kind of target for which the ability to leave the telescope working unattended becomes especially useful.
One detail is important here: the exposure times mentioned in this review refer to accumulated usable exposure, not the total length of each observing session. For example, the telescope might spend around an hour imaging a target while the final stack contains only 25 minutes of usable exposure.
Star clusters and planetary nebulae
Switching between very different types of deep-sky objects turned out to be one of the most enjoyable parts of using the telescope.
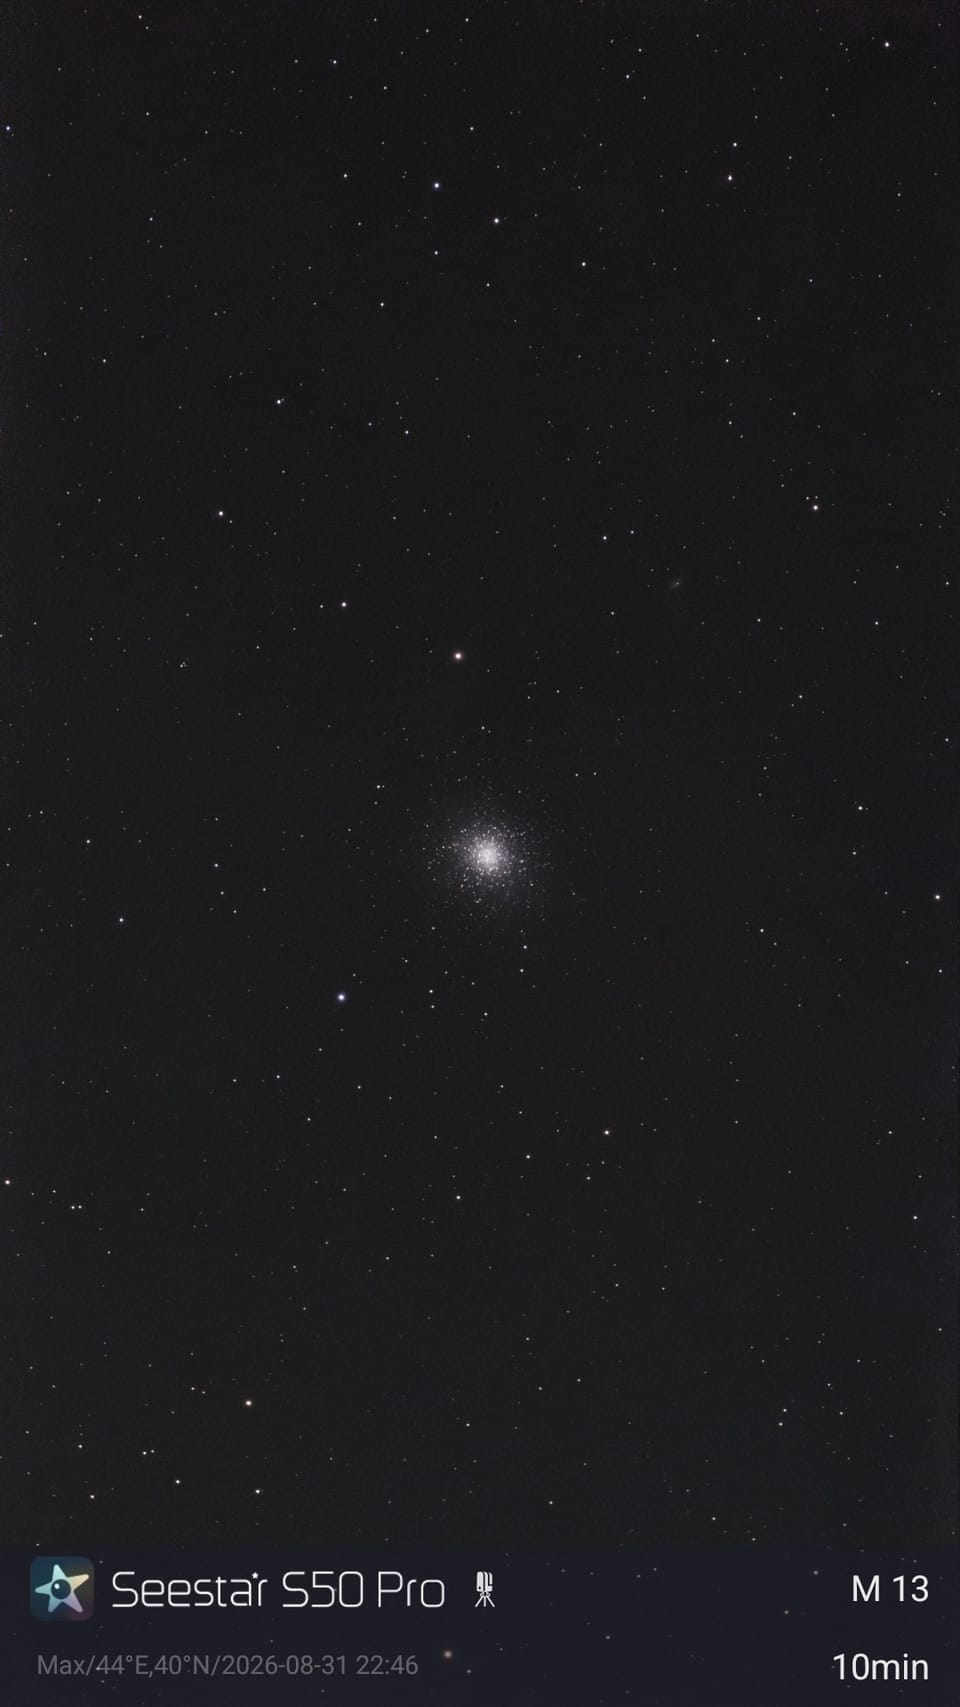
In the globular cluster M13, the dense bright center is easy to see, surrounded by individual stars. This image required only 10 minutes of accumulated exposure.
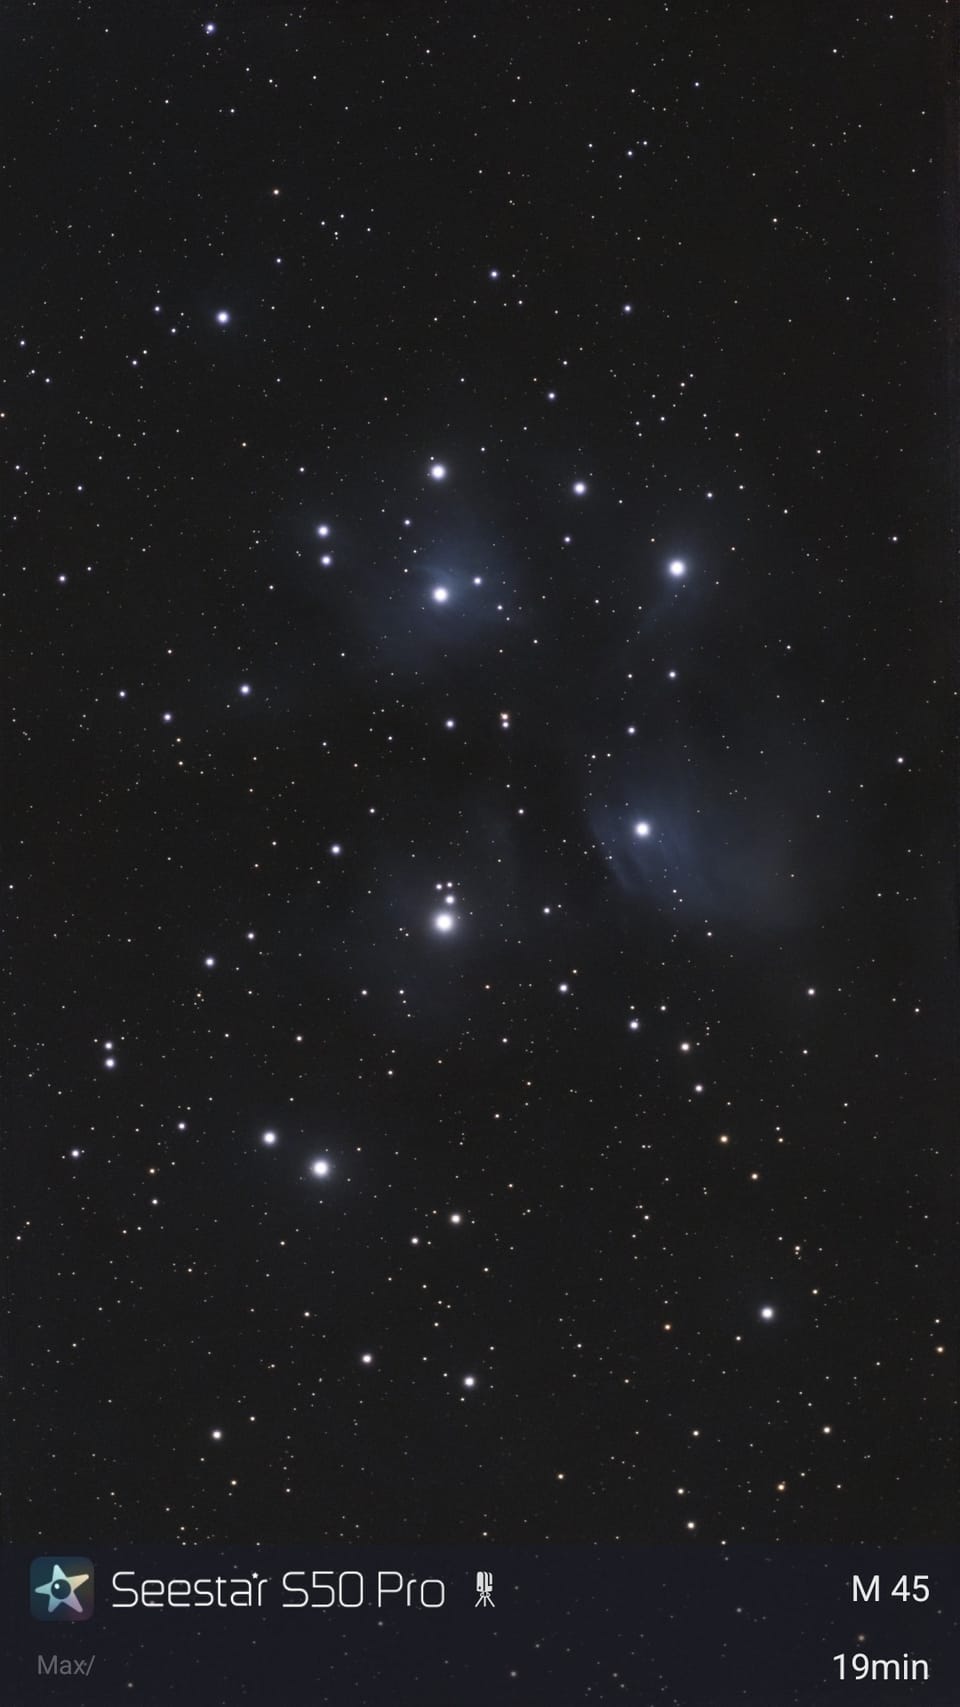
The Pleiades came out surprisingly well even though the sky was already beginning to brighten. The cluster’s bright stars are prominent, along with the main structures of the surrounding reflection nebula.
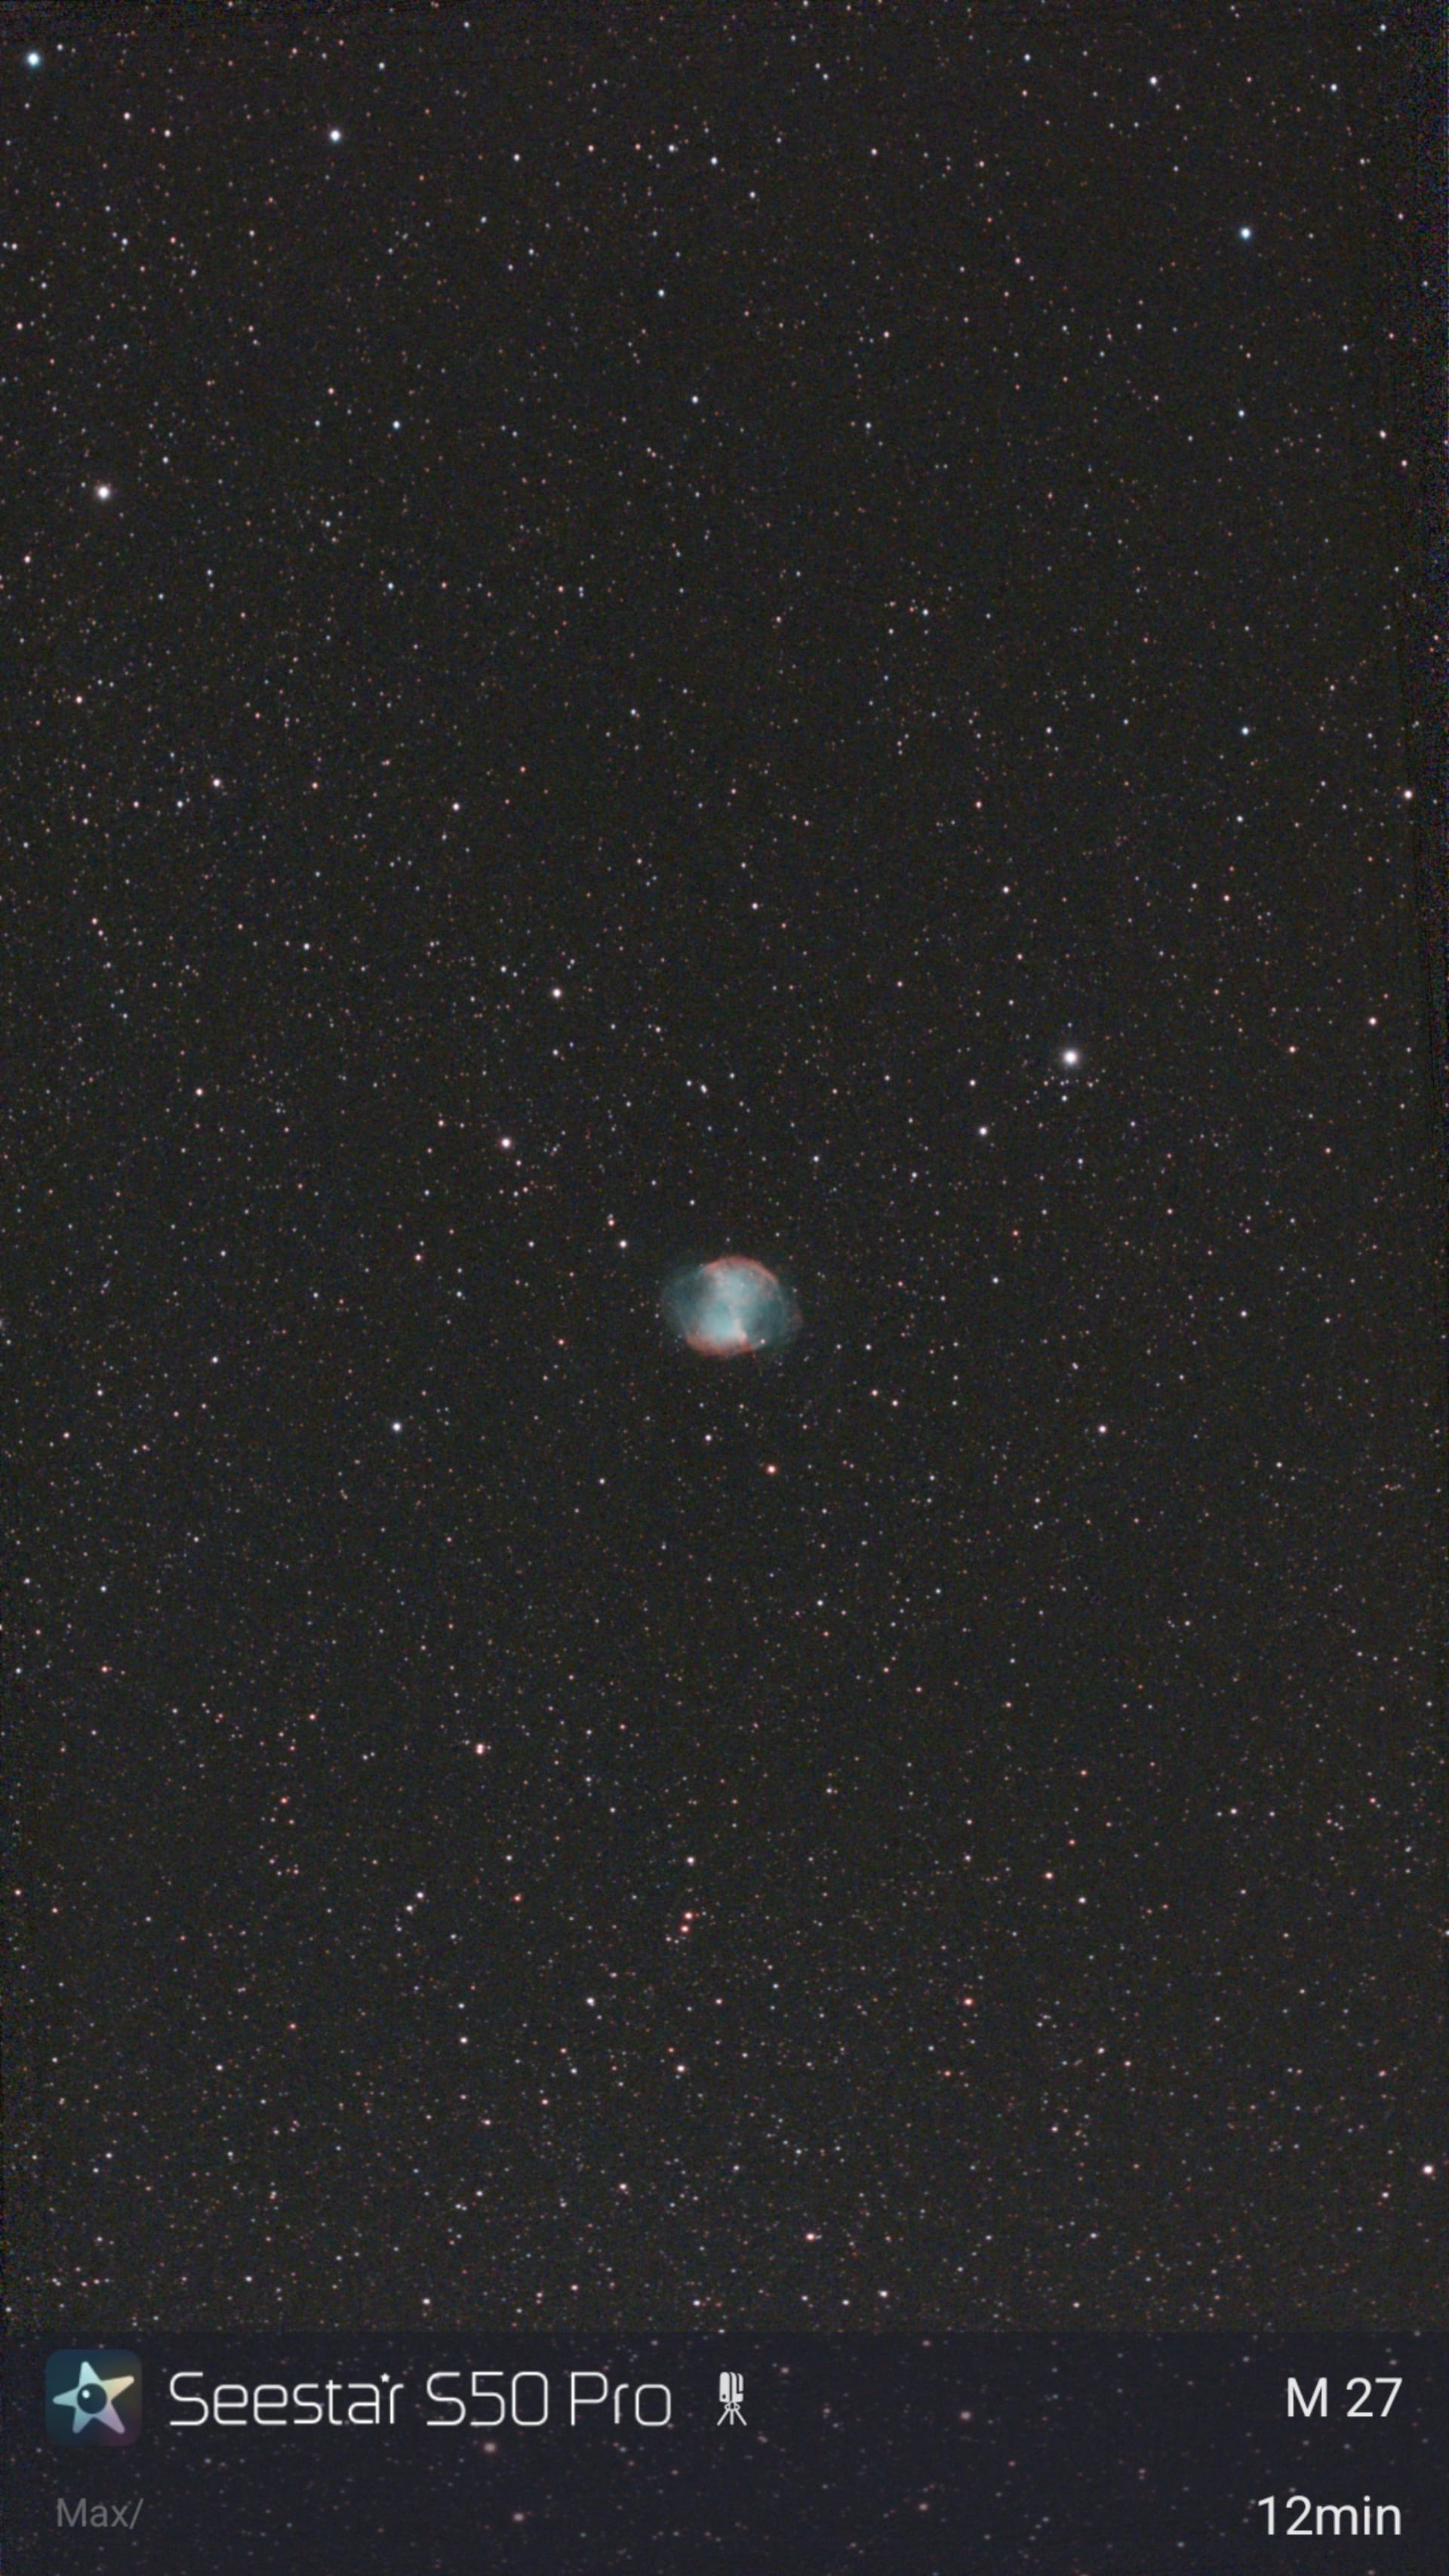
The Dumbbell Nebula, M27, looks completely different. Its characteristic shape is recognizable, with a blue-green central region and reddish outer areas. We collected 12 minutes of exposure for this image with the LP filter enabled.
The Sun
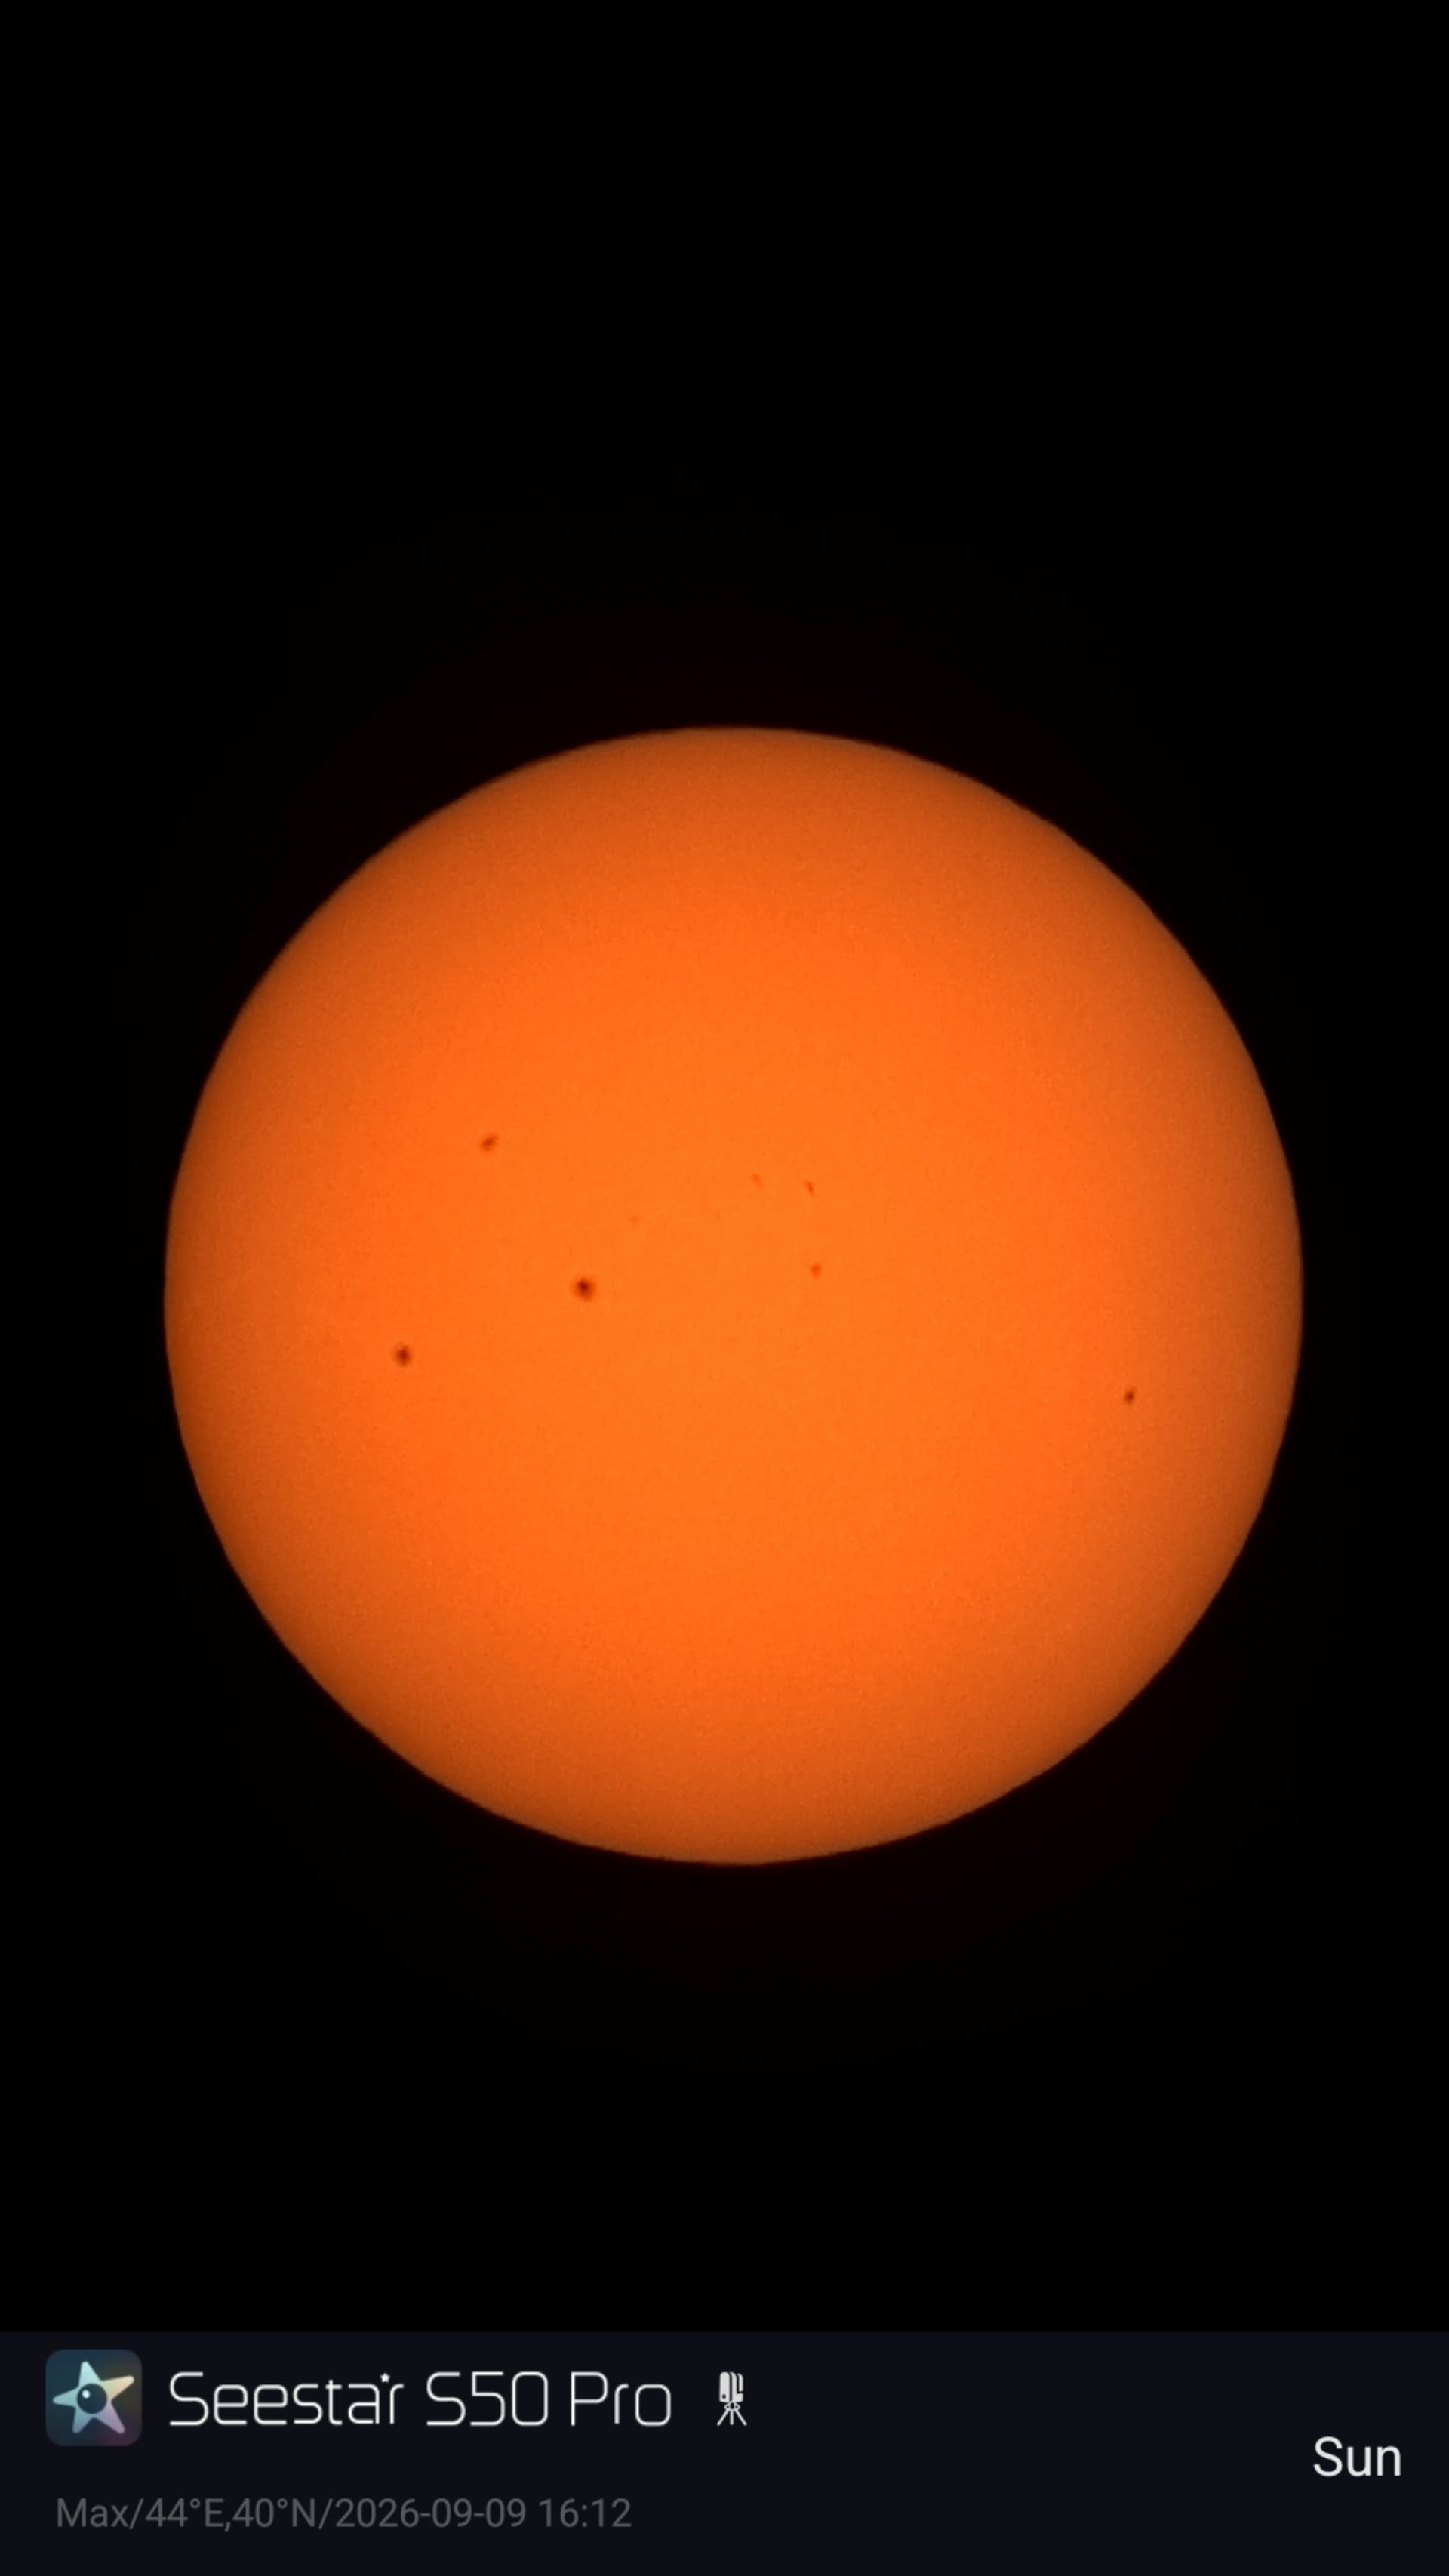
The Sun was actually the first object we photographed with the Seestar S50 Pro.
We installed the included solar filter and took the telescope outside on the same day we unpacked it. When we photographed the Sun again later, the arrangement of its sunspot groups had already changed noticeably.
We liked that the telescope could also be used during the day, even when we were not planning a full night of astrophotography.
For solar observing, however, a proper solar filter securely attached to the front of the telescope is essential. Always inspect and attach it according to the manufacturer's instructions before pointing the telescope at the Sun. The built-in LP filter used for nighttime astrophotography is not a substitute for a solar filter.
The Moon
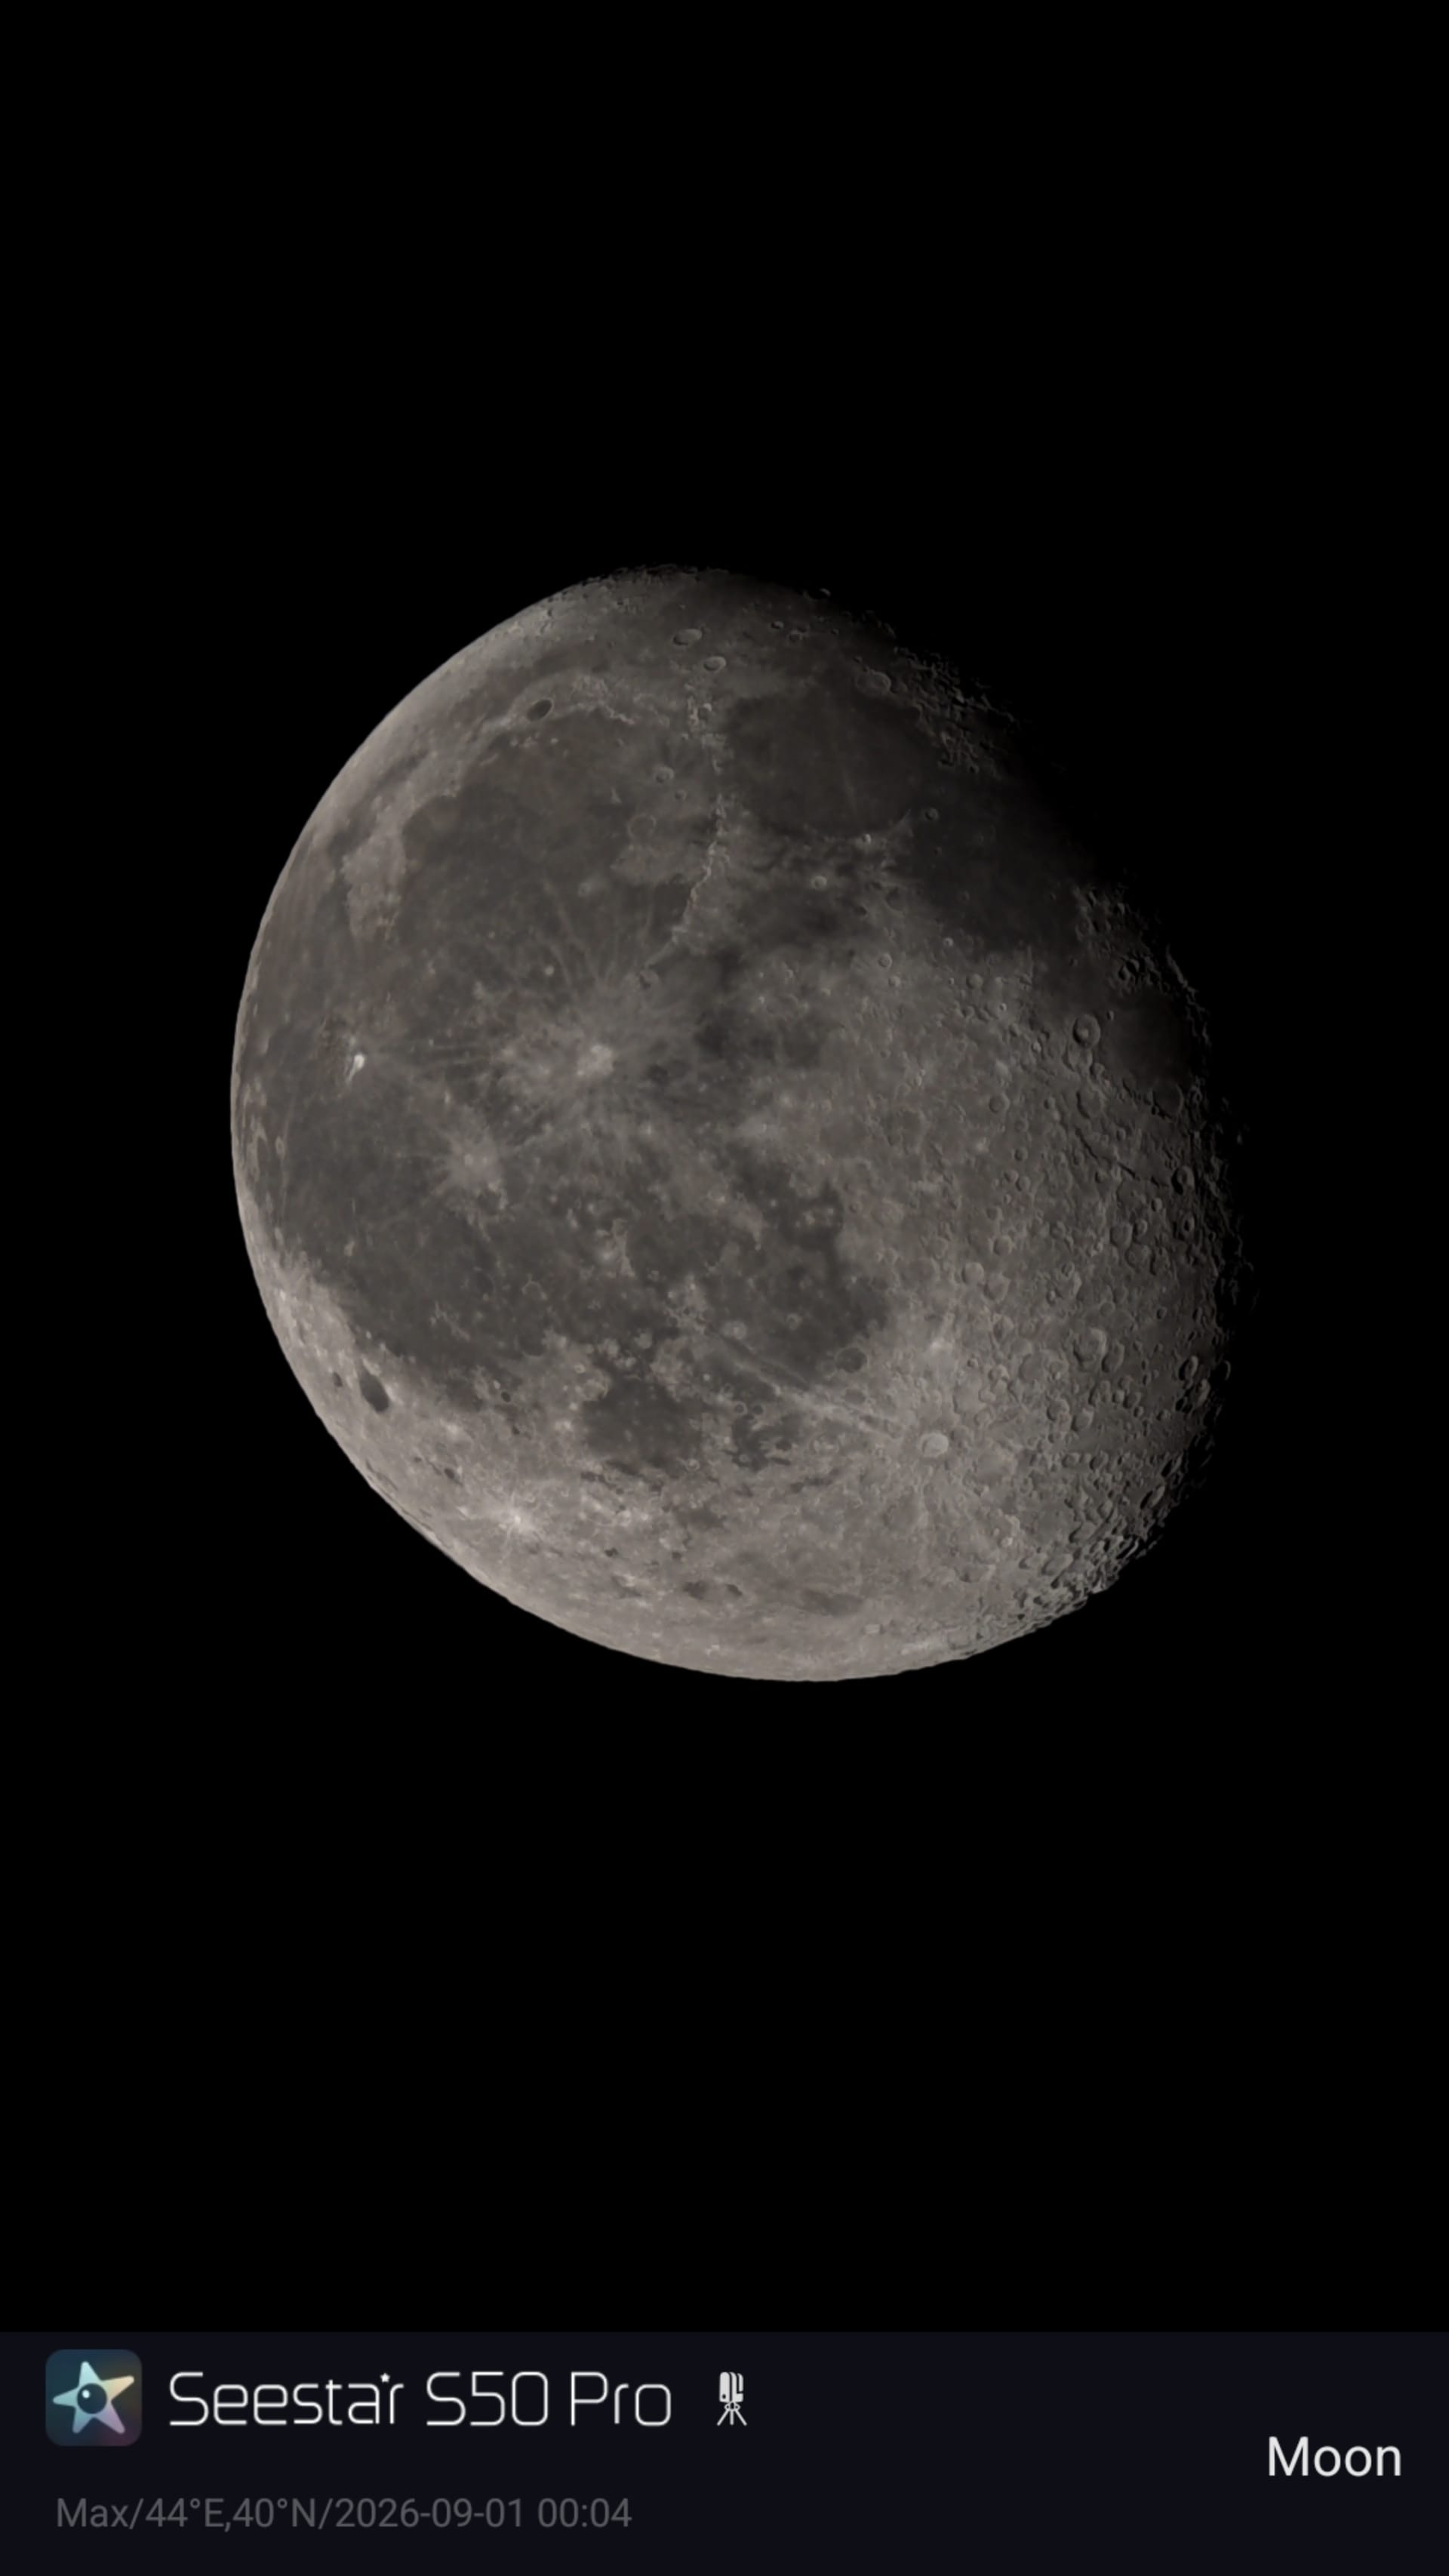
We photographed the Moon both with a prominent terminator — the boundary between its illuminated and dark sides — and with an almost fully illuminated disk.
We also recorded a video of clouds passing in front of the Moon. Observations like these provide a nice contrast to long deep-sky imaging sessions: you can choose a bright target and immediately see it on the screen.
Saturn
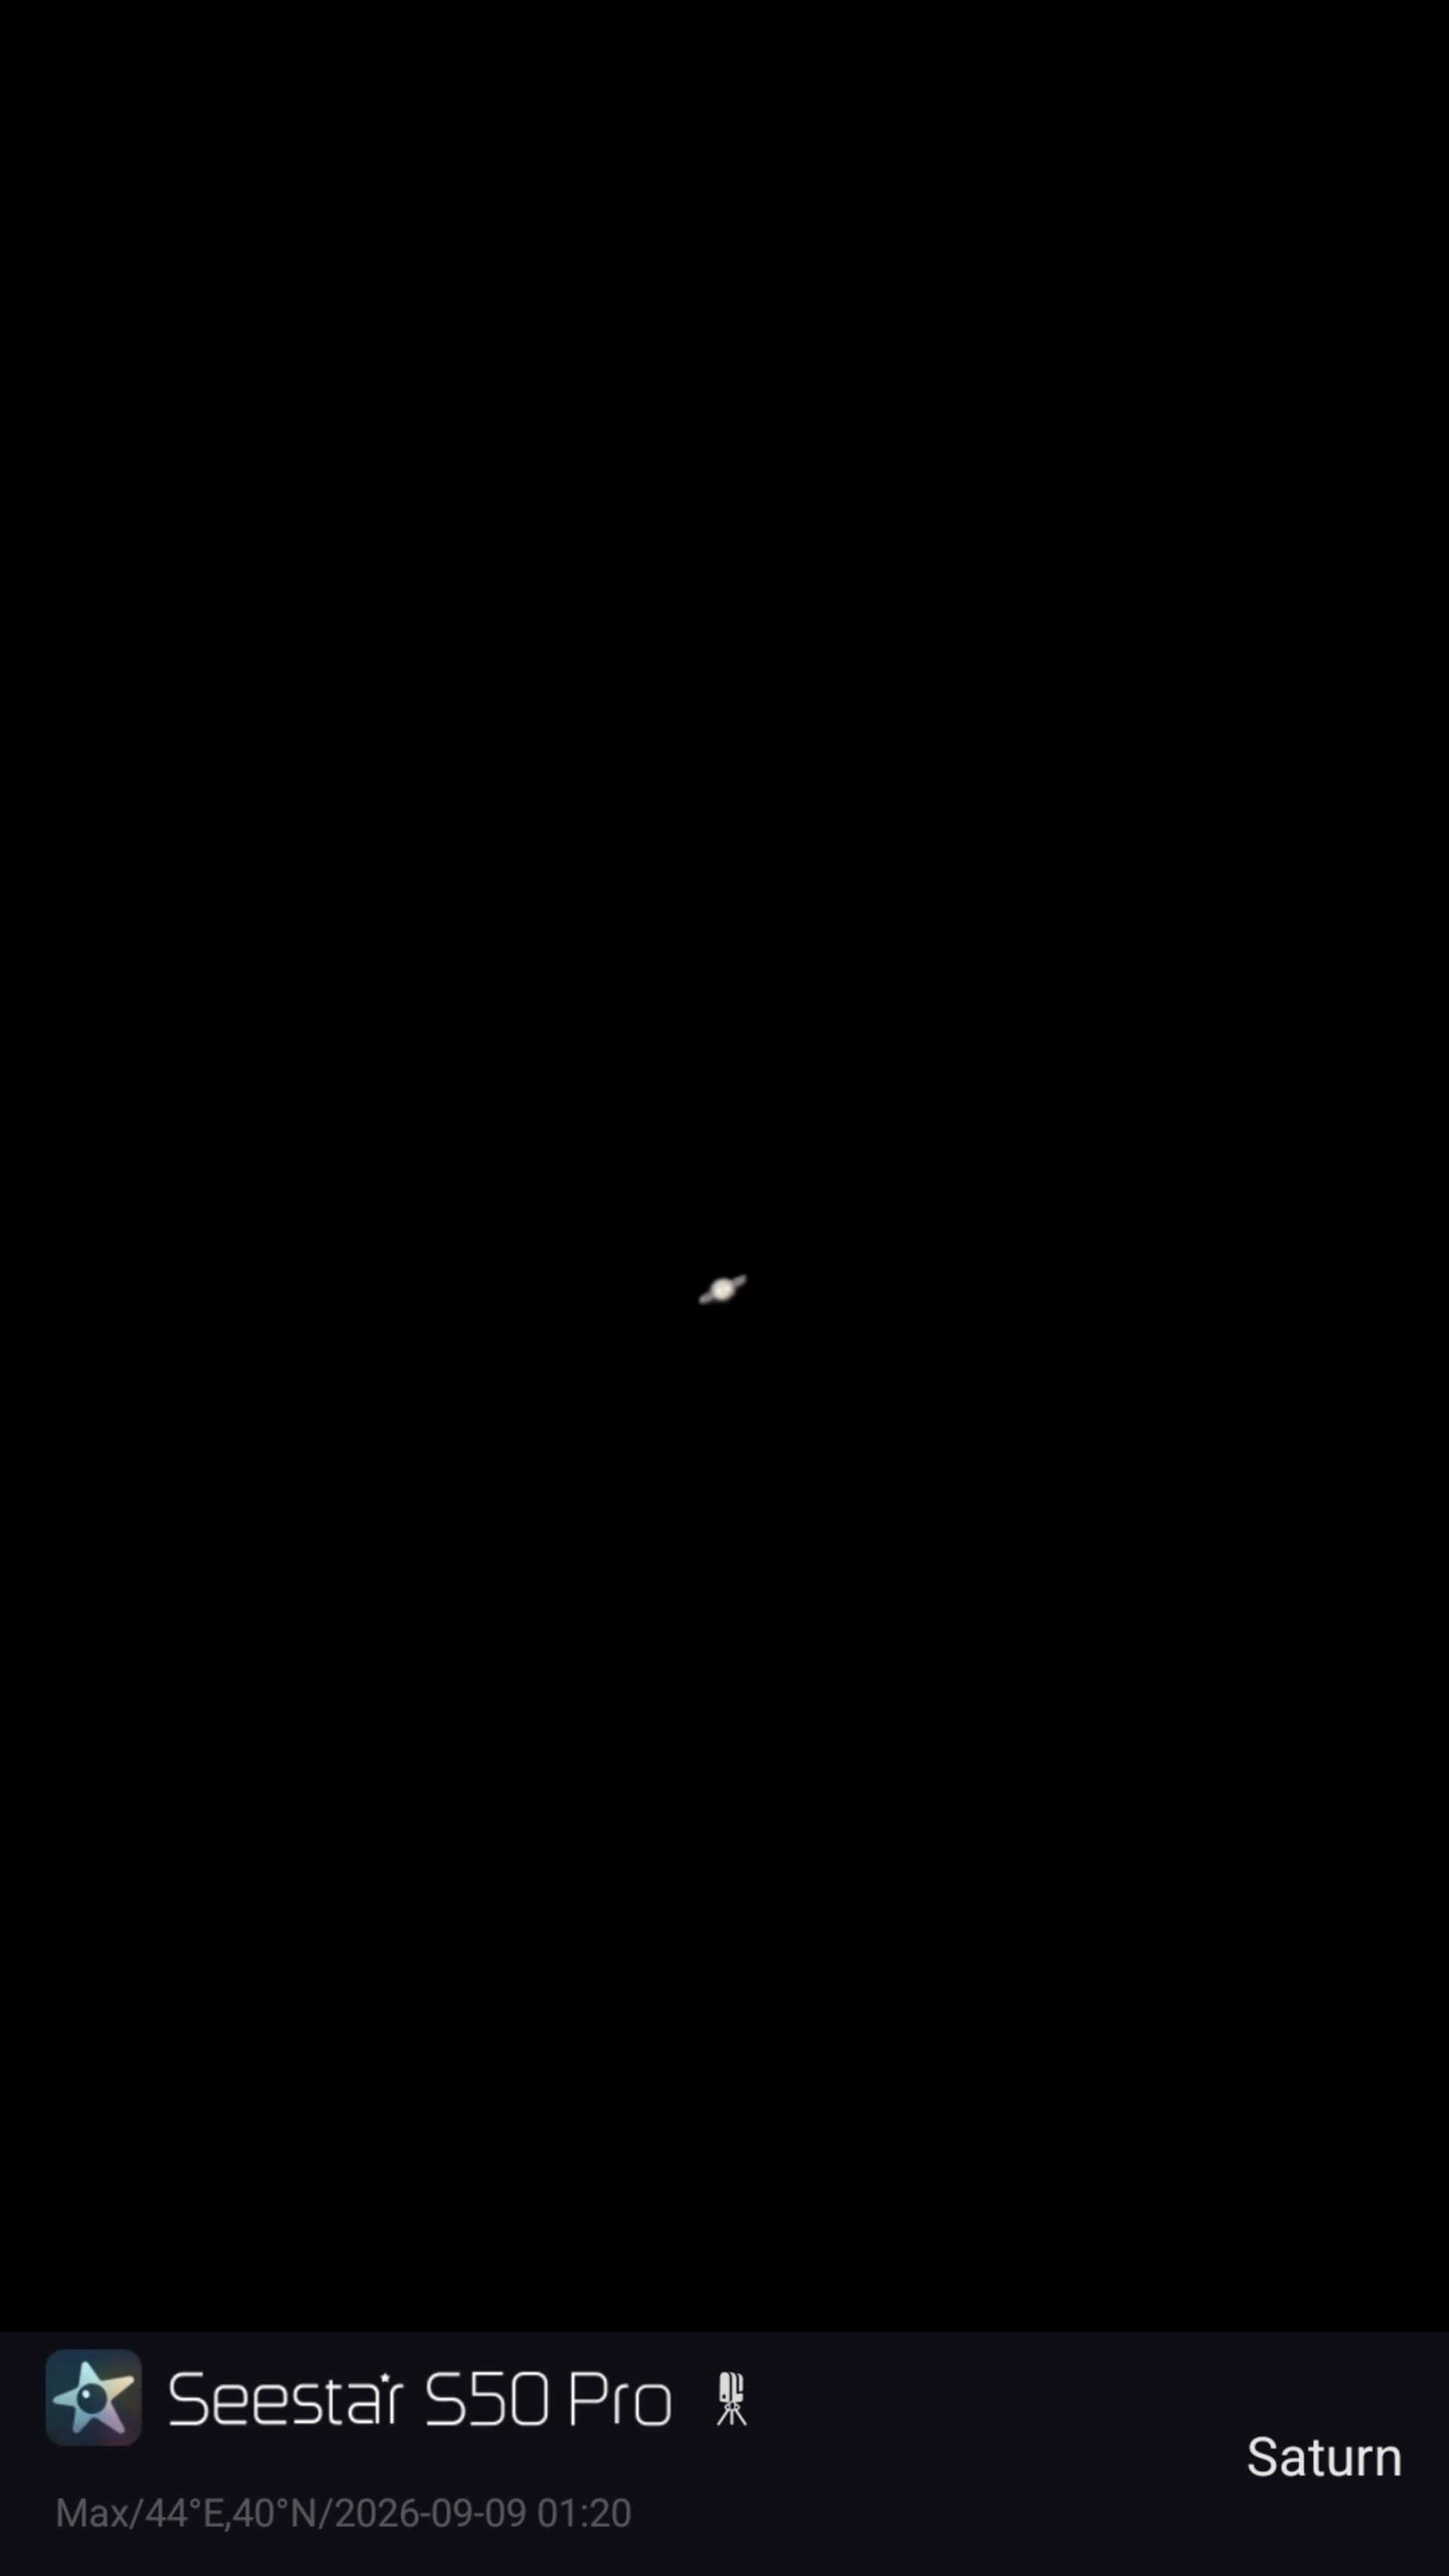
Our first attempt at Saturn was overexposed. After reducing the exposure settings, we obtained a noticeably better image.
With 4× digital zoom in the app, Saturn's rings were distinguishable. Simply being able to photograph the planet and recognize it by its rings was satisfying.
However, Saturn also revealed one of the telescope's limitations. Even with digital magnification, the planet remains very small. If detailed planetary imaging were our main goal, we would choose a different instrument.
For us, the Seestar was far more impressive when photographing galaxies, nebulae, and star clusters.
Star trails
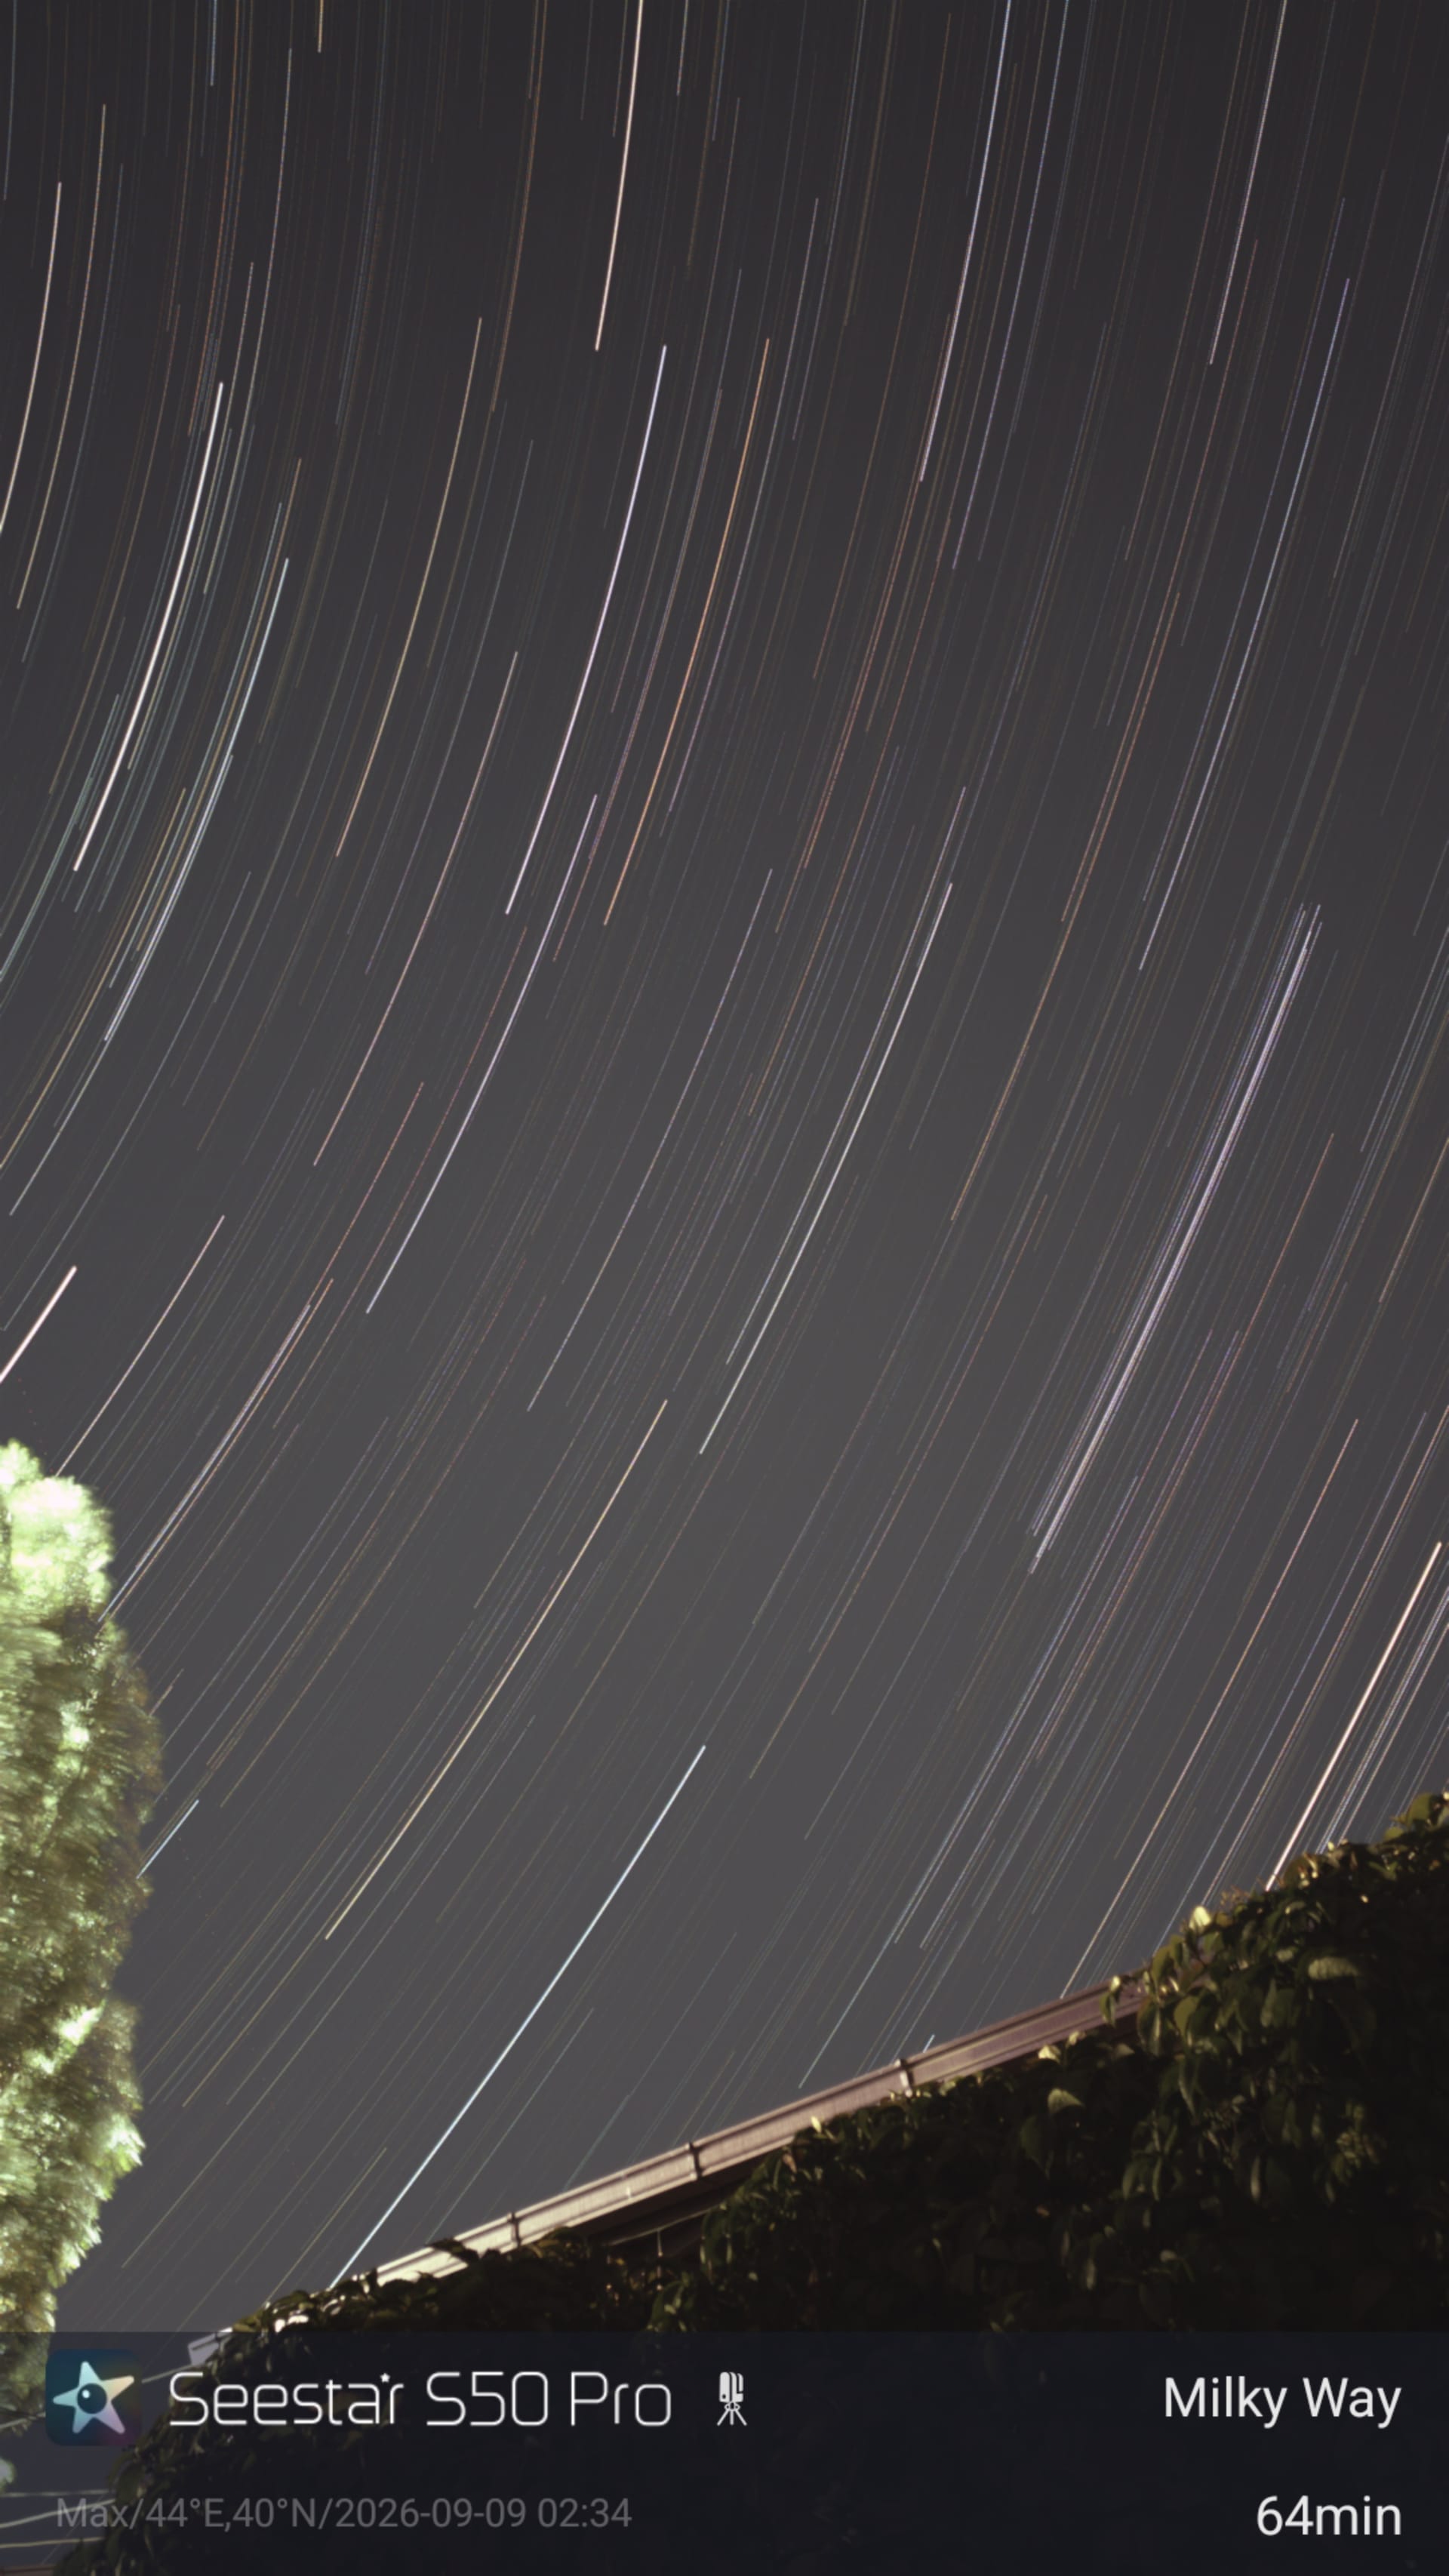
Using the wide-angle camera, we also photographed star trails above the roof and trees in the yard.
The result is a completely different type of astrophotography: instead of an isolated deep-sky target, you get a familiar landscape beneath long arcs traced by the stars.
We also experimented with panoramas. It is nice to be able to switch between these different types of photography using the same device.
Watching a faint object turn into a photograph
For deep-sky targets, the Seestar combines many individual exposures into a single image. As more frames are added, faint details gradually become easier to see.
This became one of our favorite parts of the experience: choose an interesting object, start imaging, and watch it slowly appear on the screen.
We applied the app's one-tap enhancement tool to almost all our images whenever the option was available. It was labeled AI Enhance in the version we tested; the current product documentation calls the feature Smart Enhancement. It processes the captured image data rather than generating a replacement sky. In many cases, the result was good enough that we did not feel the need to continue processing the files on a computer.
Our usual workflow stayed entirely within the app: choose an object, capture it, process the image, and save it. The photos shown in this review represent that experience, including the in-app processing.
Sometimes we obtained an even better result using Deep Sky Stacking, which lets you select the individual frames that will be included in the final stack.
Plan Mode lets the telescope observe several targets automatically
We also tried Plan Mode for photographing several objects in succession.
In one session, the telescope started with the Dumbbell Nebula, then automatically moved to Andromeda, and finally to the Pleiades. It is a very convenient feature: you prepare the sequence in advance, start the session, and are then free to observe the sky yourself or do something else.
During another session, we almost forgot that the telescope was still standing outside collecting light from the Little Dumbbell Nebula, M76. When we returned to the app, it was still imaging exactly as planned.
We also did not need to keep the phone next to the telescope continuously. The connection dropped only when we moved farther inside the house, while the telescope itself continued imaging. Once we came closer again, tapping Connect restored the connection quickly.
During one session lasting roughly three to four hours, the telescope used about half of its battery charge. For the kind of evening sessions we were doing, that was more than enough.
Seestar S50 Pro: things to keep in mind
There were two aspects of the experience worth mentioning.
The first setup took considerably longer than later sessions. We had to install the app, learn the controls, and calibrate the compass. The calibration required a little patience because the indicator stopped midway several times. After the first successful nighttime alignment, however, target finding and tracking worked reliably, and subsequent setups took only a few minutes.
The second limitation concerns planets. As mentioned above, Saturn's rings can be distinguished, but the planet itself remains small even with digital zoom. If detailed planetary photography is your main priority, the Seestar S50 Pro would not be our first choice. Its real strength lies in imaging galaxies, nebulae, and star clusters.
Neither point changed our overall impression. The learning curve was short, and once the telescope was ready, it delivered its best results with very little intervention.
Seestar S50 Pro: our overall impressions
The Seestar S50 Pro impressed us most with how easy it made deep-sky astrophotography. From a city backyard, we were able to capture galaxies, nebulae, and star clusters with surprisingly good detail, while the telescope handled most of the technical work itself. Setup became quick after the first few sessions, the app covered almost the entire workflow, and features such as Plan Mode made longer imaging sessions especially convenient.
It is not a telescope for every task — particularly when it comes to photographing planets, which remain quite small even with digital zoom. But for anyone mainly interested in photographing deep-sky objects without building a traditional astrophotography setup, the Seestar S50 Pro offers a very appealing balance of simplicity, portability, and image quality. After several nights of testing, it became a telescope we genuinely wanted to keep using.
If the Seestar S50 Pro sounds like the right telescope for you, you can order it through the regional store for the United States, the European Union, or other countries and regions.