How to Photograph a Lunar Eclipse: Camera Settings and Tips
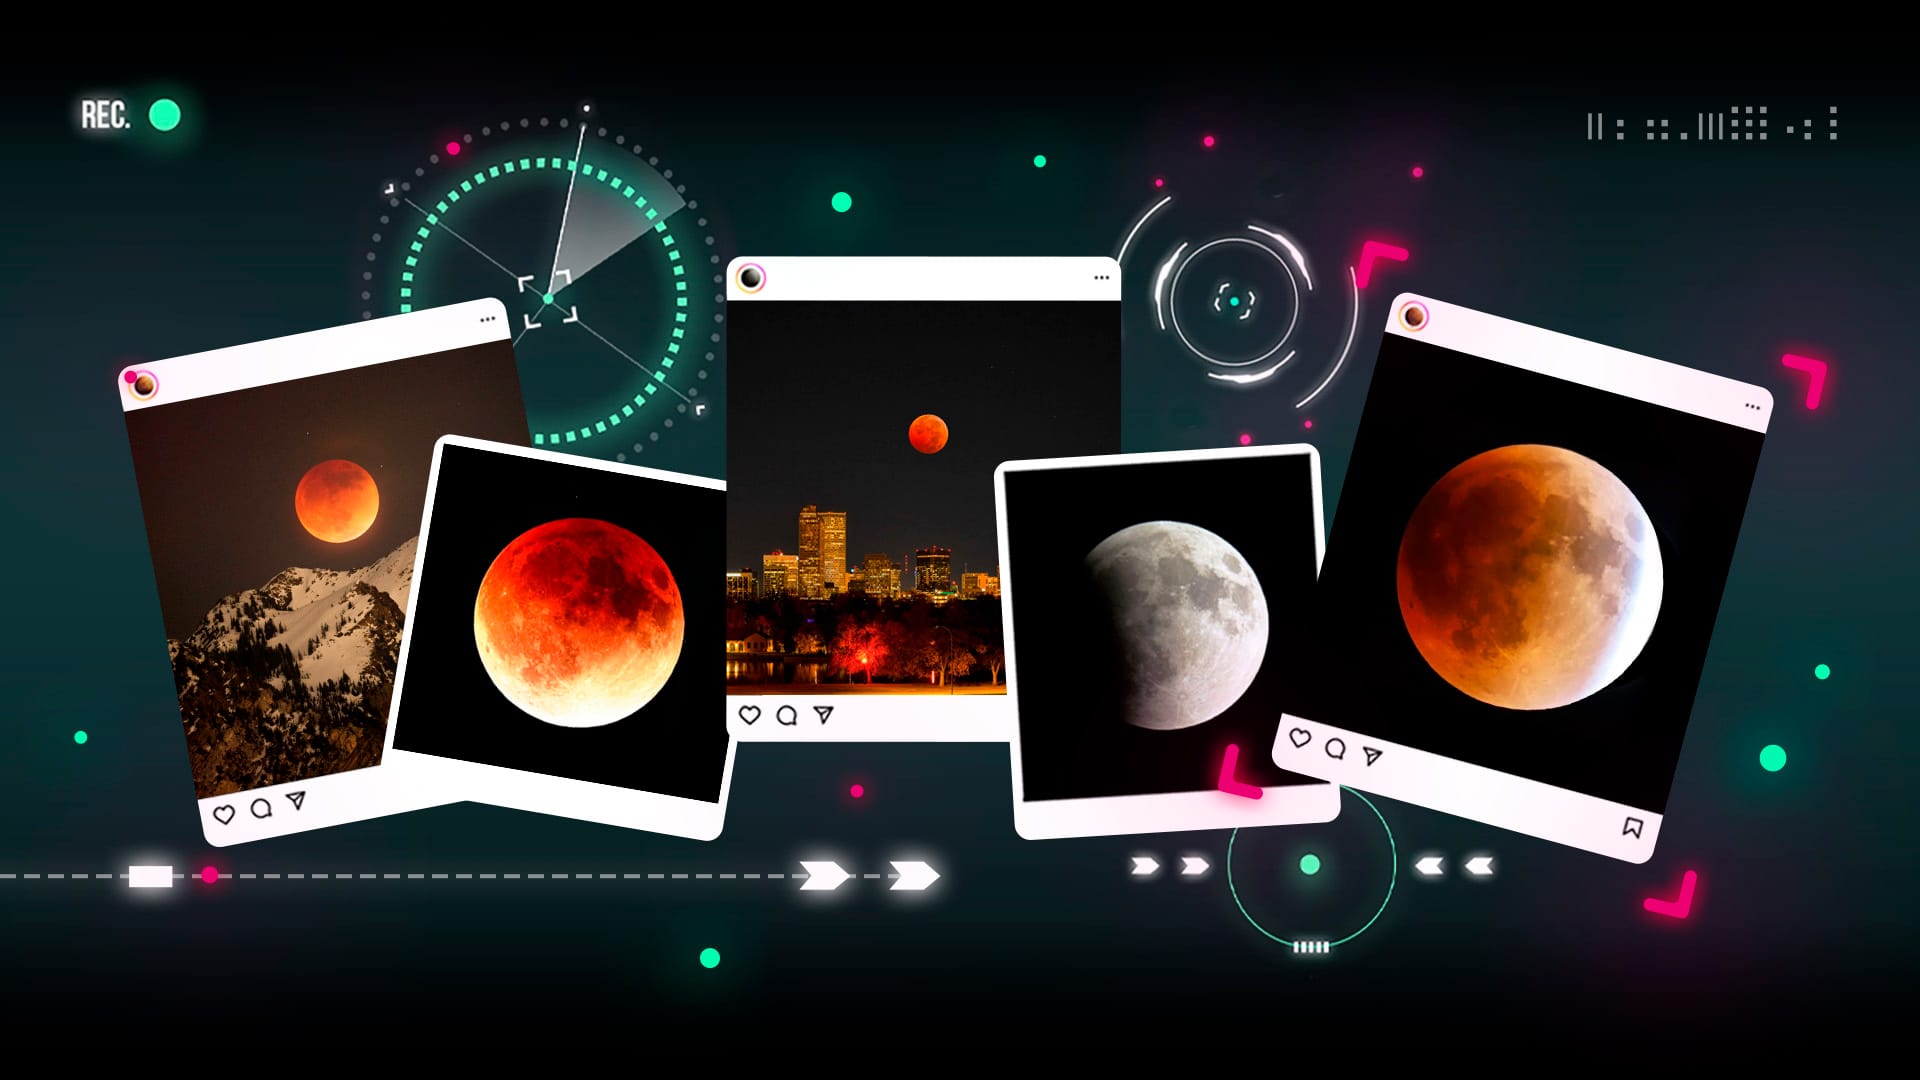
A lunar eclipse is one of the easiest sky events to enjoy — and one of the trickiest to photograph well. The Moon changes brightness as it moves through Earth’s shadow, so a single set of camera settings won’t work for the whole event. Before the eclipse begins, use Sky Tonight to check the local timing, visibility, and the Moon’s position in your sky. Then follow these tips to plan your shot, choose the right gear, and capture the Moon as it darkens.
Contents
- Lunar Eclipse Photography: At a Glance
- When to Photograph a Lunar Eclipse
- What Gear Is Best for Photographing a Lunar Eclipse?
- Best Camera Settings for a Lunar Eclipse
- Creative Lunar Eclipse Photo Ideas
- How to Plan Your Lunar Eclipse Photo
- Lunar Eclipse Photography: Common Mistakes
- How to Photograph a Lunar Eclipse: Frequently Asked Questions
- Lunar Eclipse Photography: Bottom Line
Lunar Eclipse Photography: At a Glance
- Event: Lunar eclipse
- What to capture: The Moon changing color and brightness as it passes through Earth’s shadow
- Safety: Safe to view and photograph without special eye protection
- Best equipment: Smartphone for wide scenic shots; camera with a 200–300 mm lens or longer for Moon detail; smart telescope for easier tracking
- Main challenge: The Moon’s brightness changes a lot during the eclipse, so the same camera settings won’t work for every phase
- Best file format: RAW, if your device supports it
When to Photograph a Lunar Eclipse
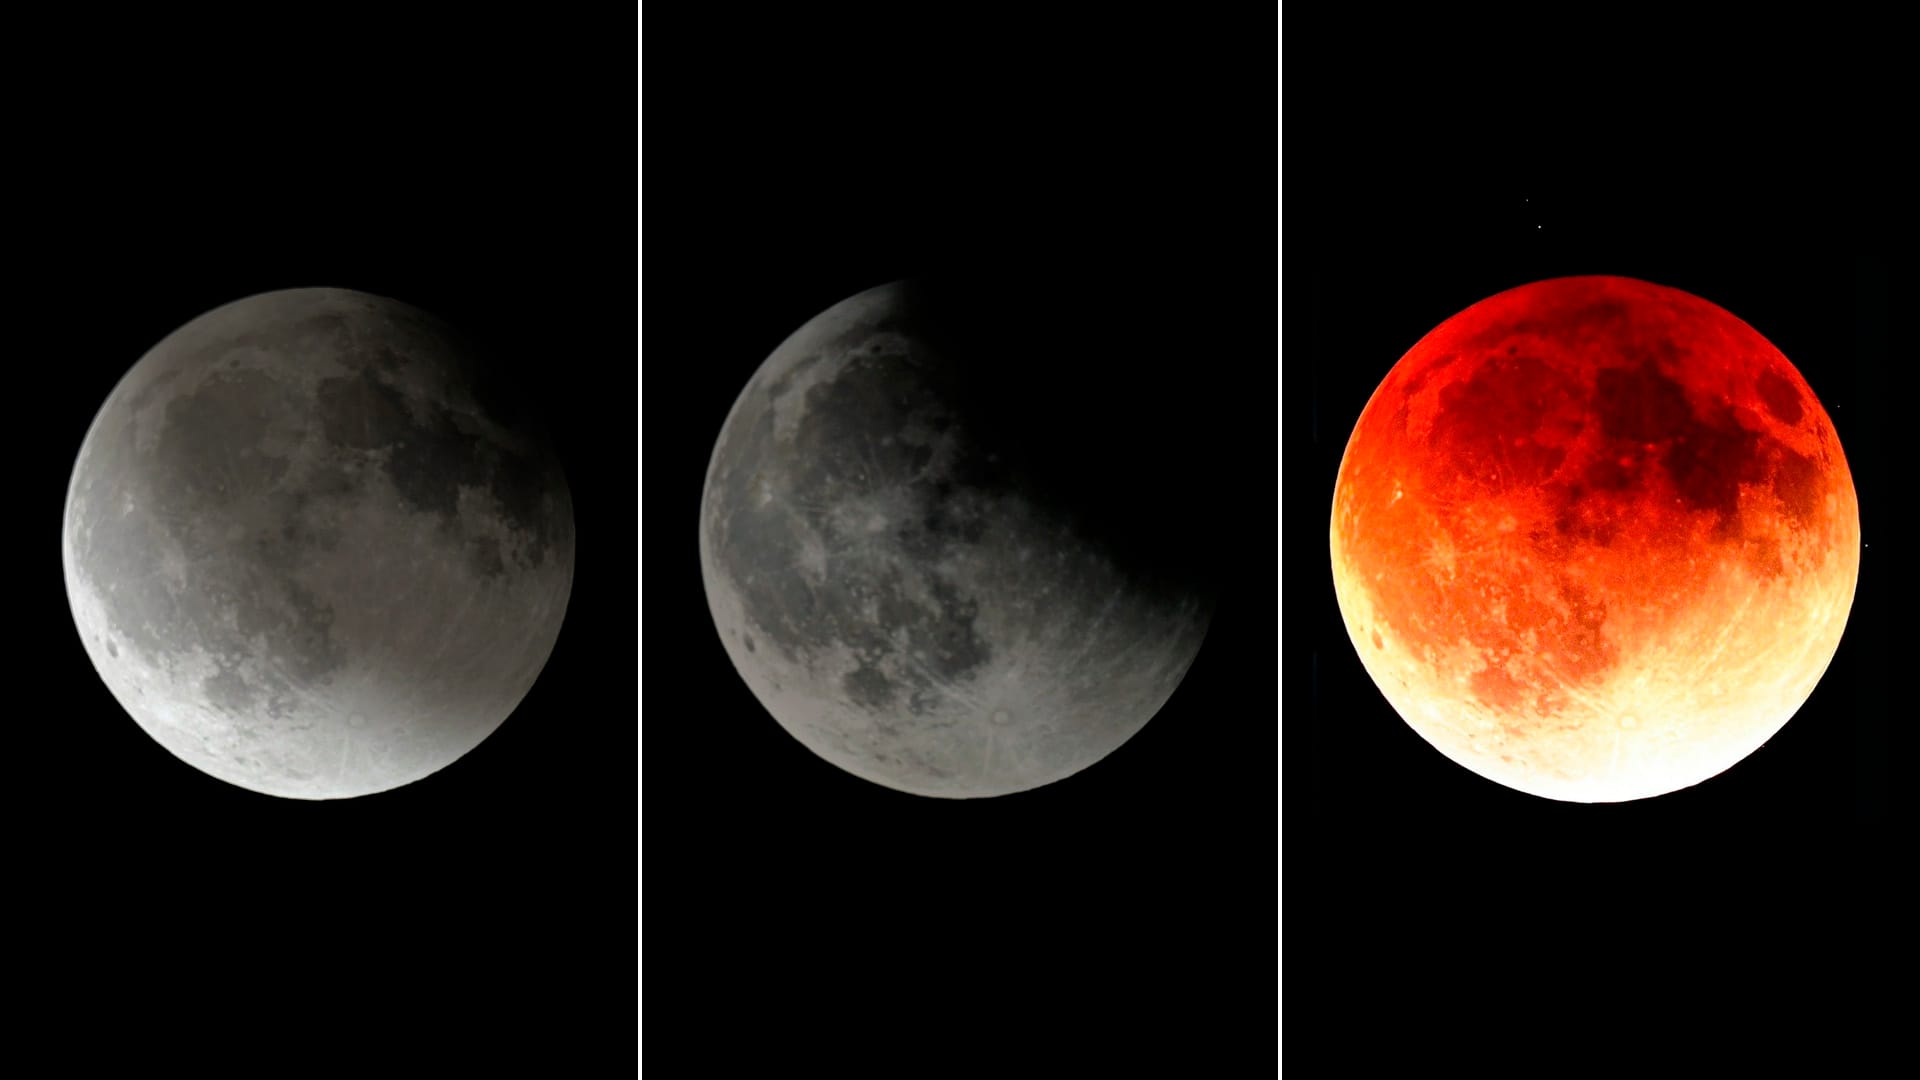
The best time to photograph a lunar eclipse depends on its type and the phase you want to capture.
- Penumbral eclipse: The Moon passes through Earth’s faint outer shadow. The change can be subtle, so photos may show only gentle dimming.
- Partial eclipse: A dark “bite” appears on the Moon. This phase is easy to recognize, but the bright and shadowed areas can be difficult to expose in a single shot. Protect the highlights and bracket your exposures if you also want detail in the darkened area.
- Deep partial eclipse: Most of the Moon is inside Earth’s umbra, but a bright section of the disk remains illuminated. That bright edge can still overexpose easily, while the shadowed area may be several stops darker. Avoid simply raising the ISO or lengthening the exposure for the entire frame; bracket your shots to preserve detail in both areas.
- Total eclipse: The entire Moon moves into Earth’s umbra and may turn red, orange, or copper. Because the whole disk becomes much dimmer, you can open the aperture, raise the ISO, and use a longer shutter speed than during the partial phases.
Before heading out, check the local eclipse times and make sure the Moon will be above the horizon during the phases you want to photograph.
Need a quick refresher on how lunar eclipses work and how penumbral, partial, and total eclipses differ? Read our complete guide to lunar eclipses.
What Gear Is Best for Photographing a Lunar Eclipse?
You can photograph a lunar eclipse with almost any camera, but the result will look very different depending on your gear. Whatever you use, make sure you have:
- Fully charged batteries;
- Enough free storage;
- A tripod or stable support;
- Warm clothing for a long night outside.
Smartphone
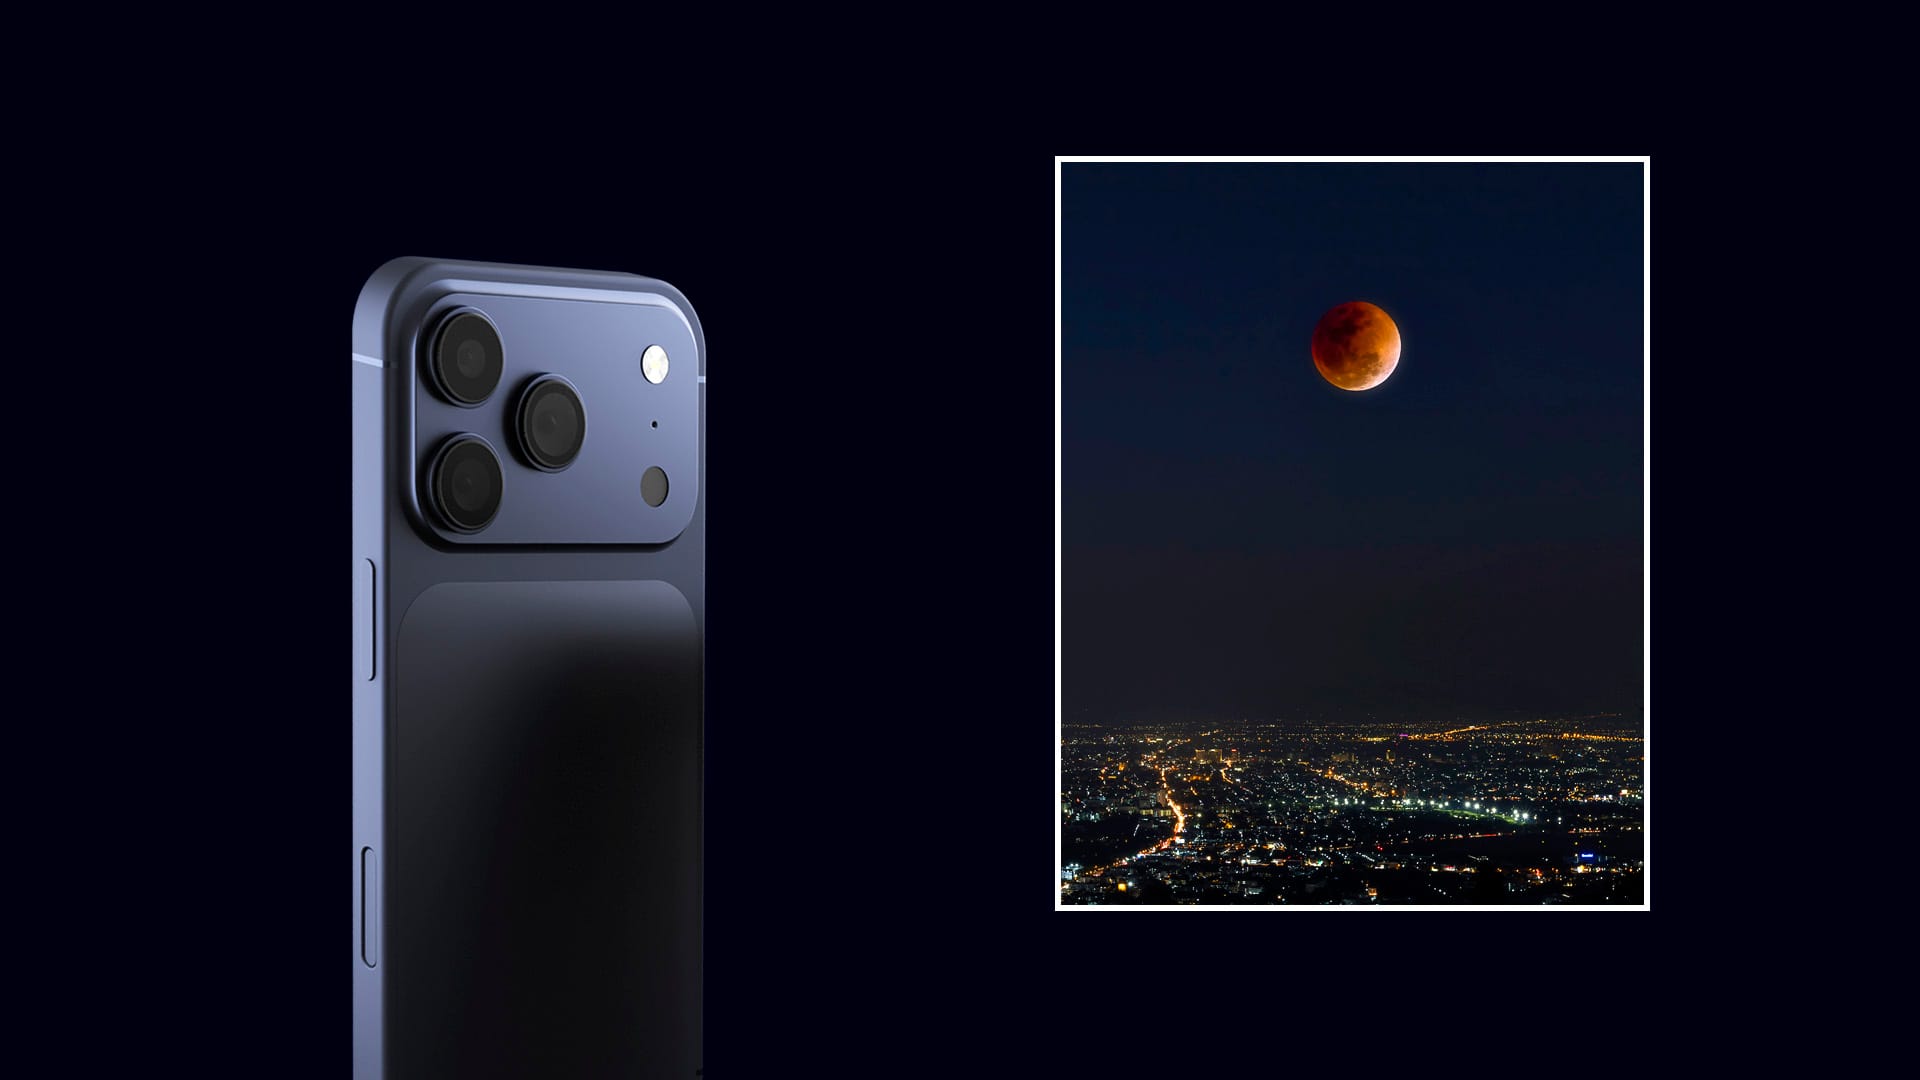
A phone is best for wide, atmospheric shots: the eclipsed Moon above a skyline, trees, mountains, water, or people watching the sky. Don’t expect detailed craters unless your phone has a true telephoto camera and is mounted on a stable support. Manual controls will also help you expose the Moon correctly. Avoid digital zoom, which enlarges the image without adding real lunar detail.
For better phone photos:
- Turn off the flash.
- Use a tripod, railing, or any stable support.
- During the bright and early partial phases, lower the exposure so the Moon doesn’t become a white blob. As the Moon enters the deepest shadow, gradually increase the exposure while checking for blur.
- Include foreground objects to make the image more interesting.
Camera with a Telephoto Lens
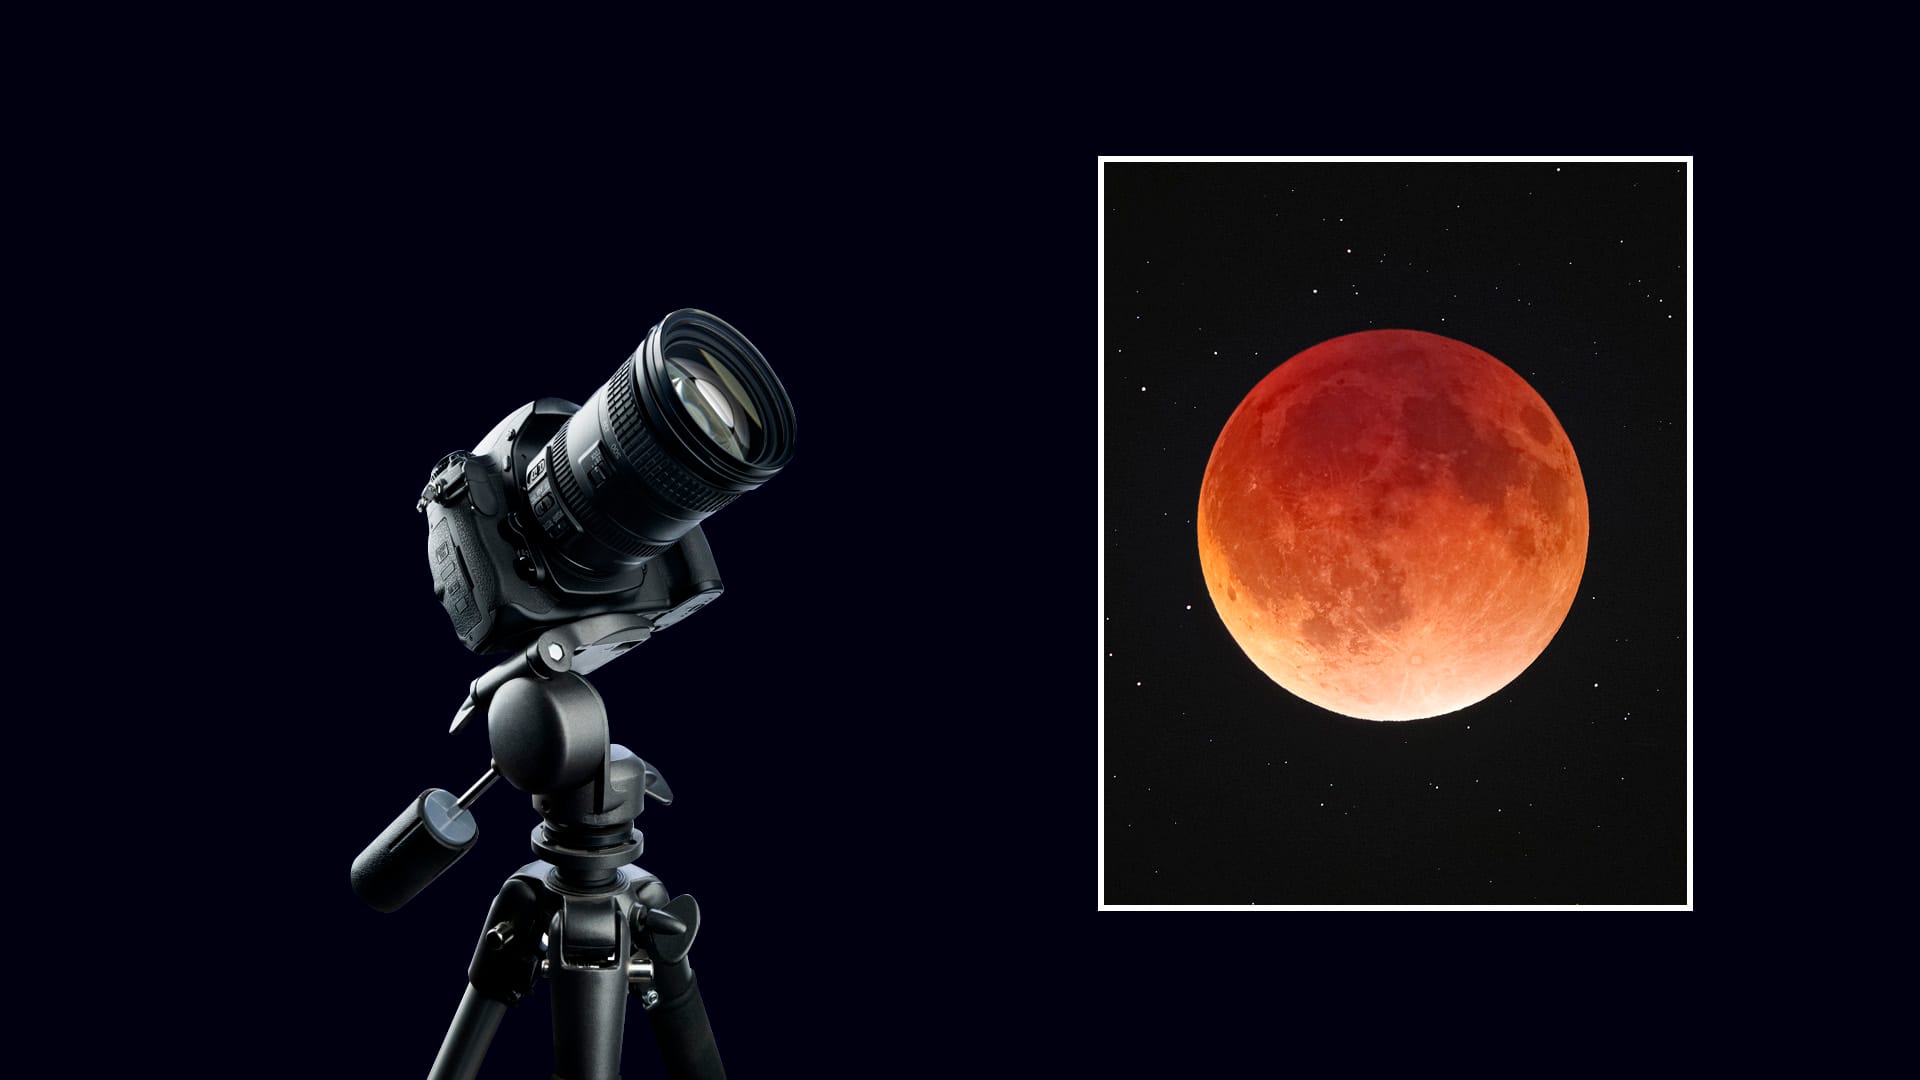
A camera with a telephoto lens is best for close-up shots of the eclipsed Moon, with a larger lunar disk and more visible surface detail. A 200 mm lens is a workable minimum, especially on a crop-sensor camera, but the Moon will still occupy a relatively small part of the frame. For a more prominent lunar disk, use a 300–600 mm full-frame-equivalent focal length. Longer lenses reveal more detail but also make focusing, tracking, and avoiding motion blur more difficult.
For sharper telephoto photos:
- Use a tripod to keep the camera steady.
- Set a timer or use a remote shutter release to avoid camera shake.
- Follow your camera or lens manual when using image stabilization on a tripod. Some systems should be switched off, while many newer lenses detect tripod use automatically.
- Check focus carefully, especially as the Moon becomes darker.
- Take several shots at slightly different exposures to improve your chances of getting a sharp, well-exposed image.
Smart Telescope
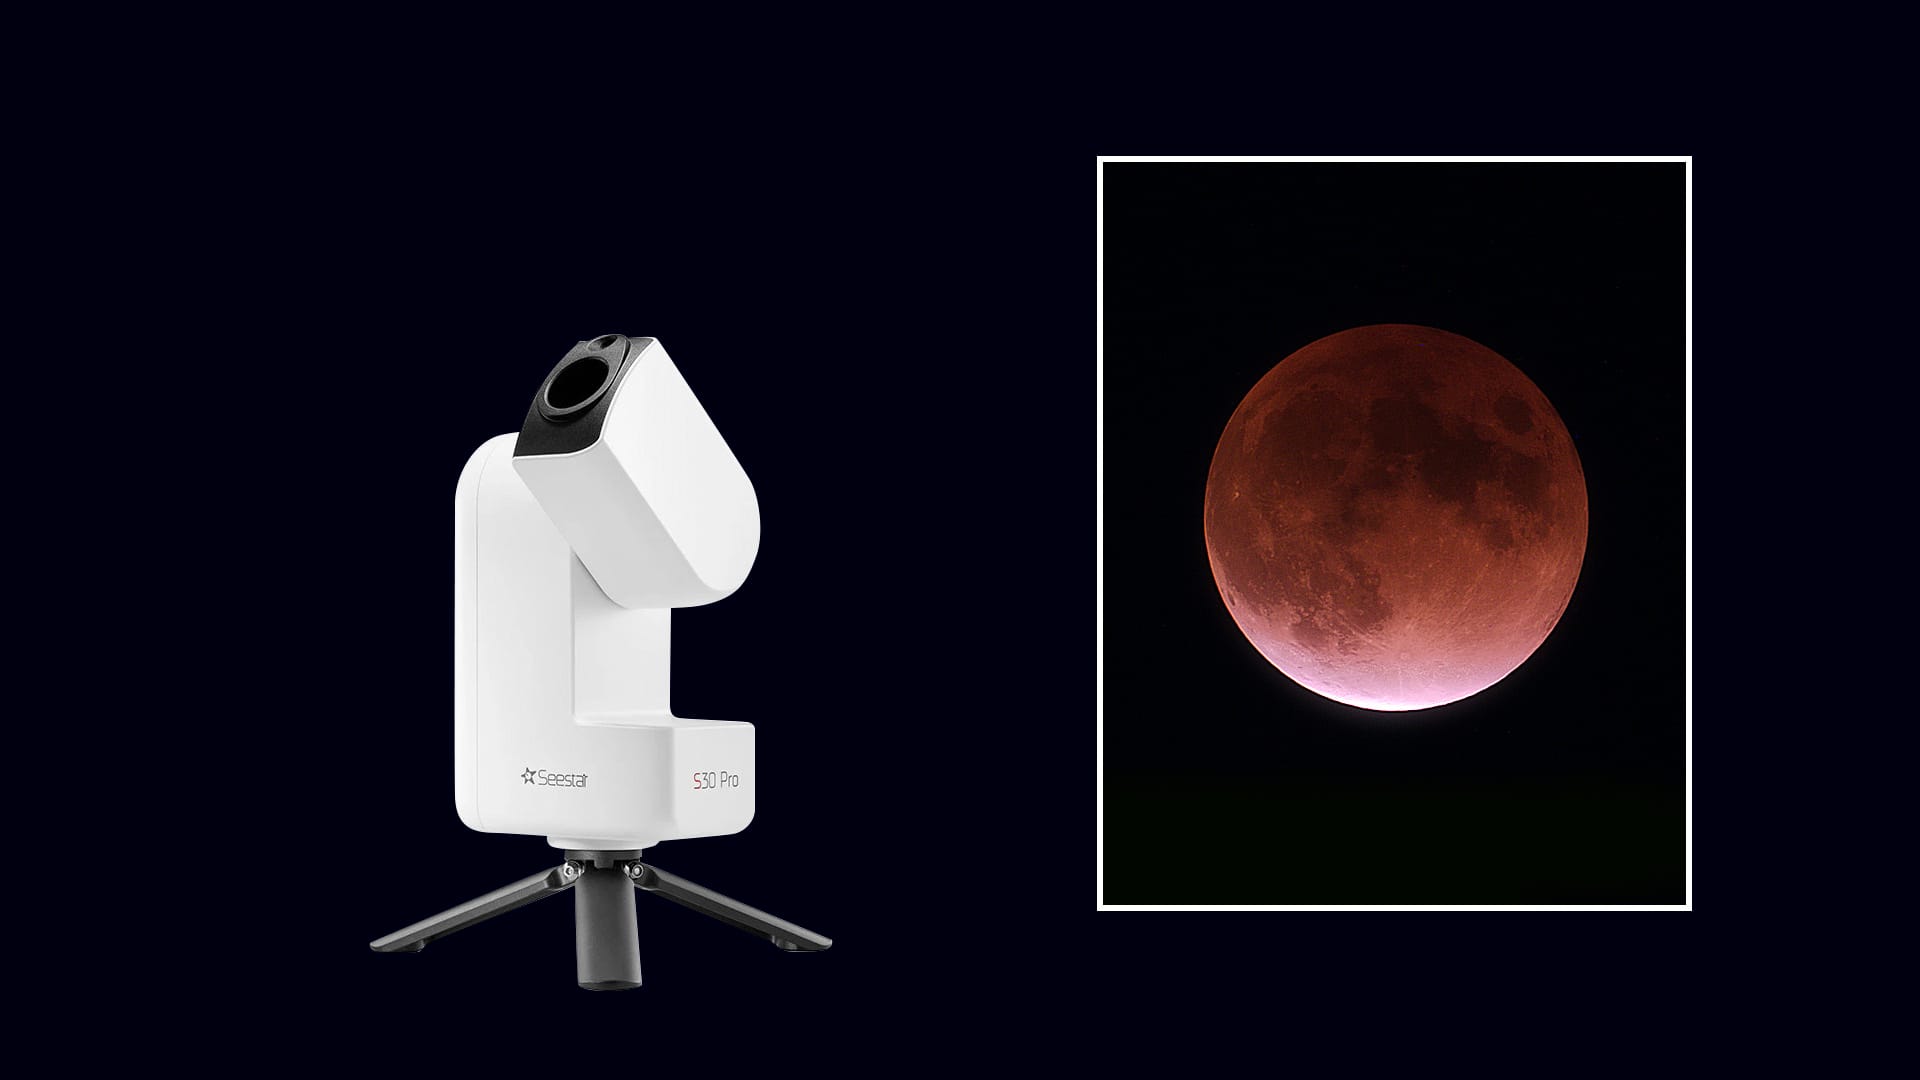
A smart telescope such as the Seestar S30 Pro (US Store | EU Store | Global Store) can make eclipse photography much easier because it can help with locating, tracking, and recording the Moon. Its compact design and app-based controls make it a convenient option for beginners, travelers, and anyone who wants a simple all-in-one setup.
For easier eclipse photography:
- Use automatic locating and tracking to keep the Moon centered in the frame.
- Use the telephoto camera to capture a closer view of the lunar disk.
- Use the wide-angle camera for broader shots of the Moon and the surrounding sky.
- Adjust the exposure throughout the eclipse as the Moon becomes darker.
- Save your images to the built-in storage.
- Control the session through the app.
- Take advantage of the built-in anti-dew system to keep the optics clear and free of condensation during long sessions in cool or humid conditions.
It won’t replace a larger, long-focal-length astrophotography setup if your goal is maximum lunar detail. But for beginners or compact setups, it can make the process much easier, especially when you want the Moon to stay in frame while you adjust exposure and follow the changing color.
Best Camera Settings for a Lunar Eclipse
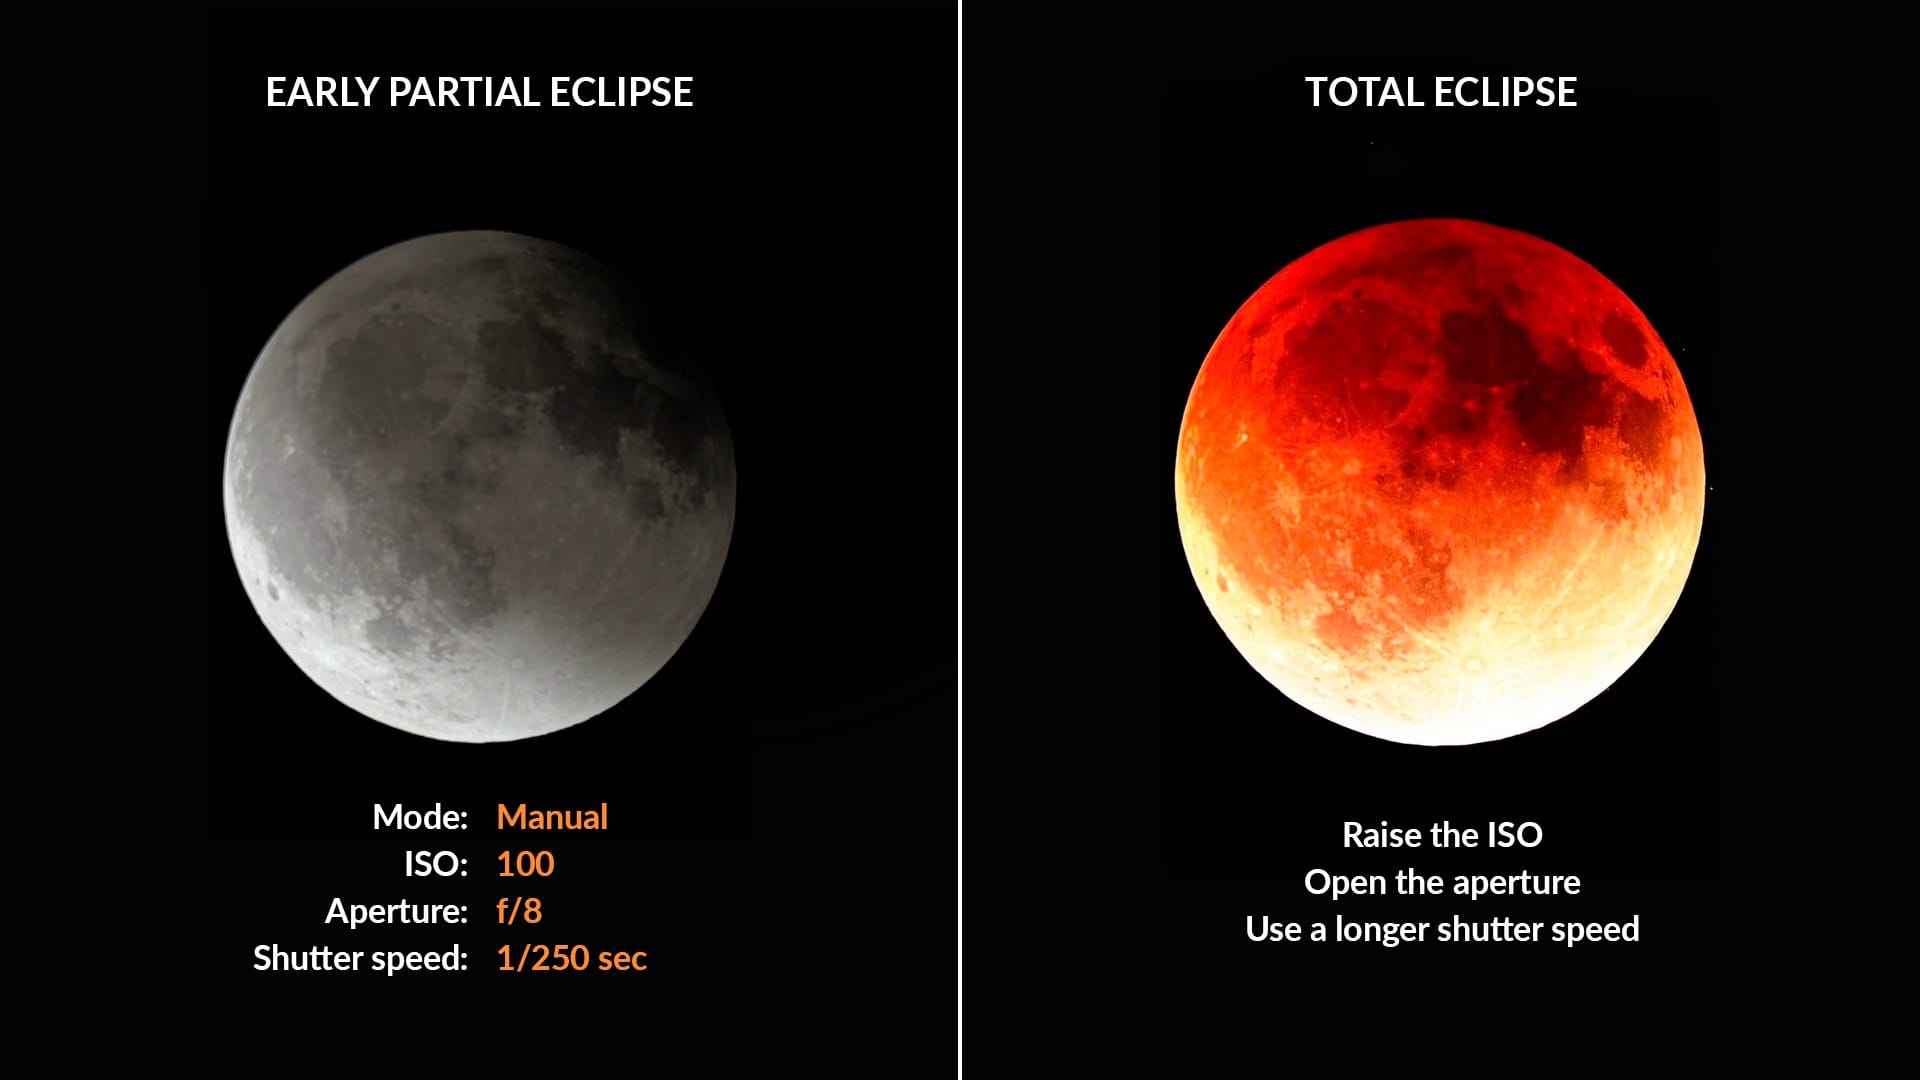
There is no single perfect setting for a lunar eclipse. The Moon is bright before the eclipse, then becomes much darker as it enters Earth’s shadow. Start with conservative settings and adjust throughout the event.
Bright Moon or Early Partial Eclipse
Try this as a starting point:
- Mode: Manual
- ISO: 100
- Aperture: f/8
- Shutter speed: Start at 1/250 sec and bracket with additional shots at 1/125 and 1/500 sec
- Focus: Manual focus or locked autofocus
- File format: RAW, if possible
- White balance: Use a fixed Daylight or Kelvin setting for sequences so the Moon’s color stays consistent from frame to frame.
The main goal is to avoid overexposure. If the Moon looks flat and pure white, lower the exposure until you can see lunar maria and surface detail. Don’t rely on the camera screen alone, as it can appear deceptively bright at night. Check the histogram and highlight warnings to make sure you’re not clipping detail in the illuminated areas.
Deep Partial or Total Eclipse
As the Moon darkens, you’ll need more light, but the best approach depends on how much of the disk is still illuminated:
- Raise the ISO as the Moon becomes dimmer.
- Open the aperture if your lens allows it.
- Use a longer shutter speed, but avoid going too slow: with a long telephoto lens and no tracking mount, try to stay around 1/4 second or faster when possible.
- During a deep partial eclipse, protect the bright edge from overexposure, since the illuminated and shadowed parts can differ greatly in brightness.
- During totality, increase exposure more confidently, because the entire lunar disk is much dimmer.
- Bracket your exposures widely, as the Moon’s brightness and color can vary significantly throughout the eclipse.
Keep checking your test shots and adjust the settings as the Moon moves deeper into or out of Earth’s shadow.
How to Focus on the Moon During a Lunar Eclipse
Focus while the Moon is still bright. Use live view, magnify the Moon’s edge or a detailed crater, and adjust the focus until it looks as sharp as possible. Then switch to manual focus so the camera does not start hunting as the Moon becomes darker.
Recheck the focus occasionally with magnified live view, especially after a large temperature change or if the camera has been touched. Do not reactivate autofocus unless the image has clearly lost focus.
Pro tip: If your lens has a mechanical focus ring, secure it gently with a small piece of low-tack tape after focusing.
Creative Lunar Eclipse Photo Ideas
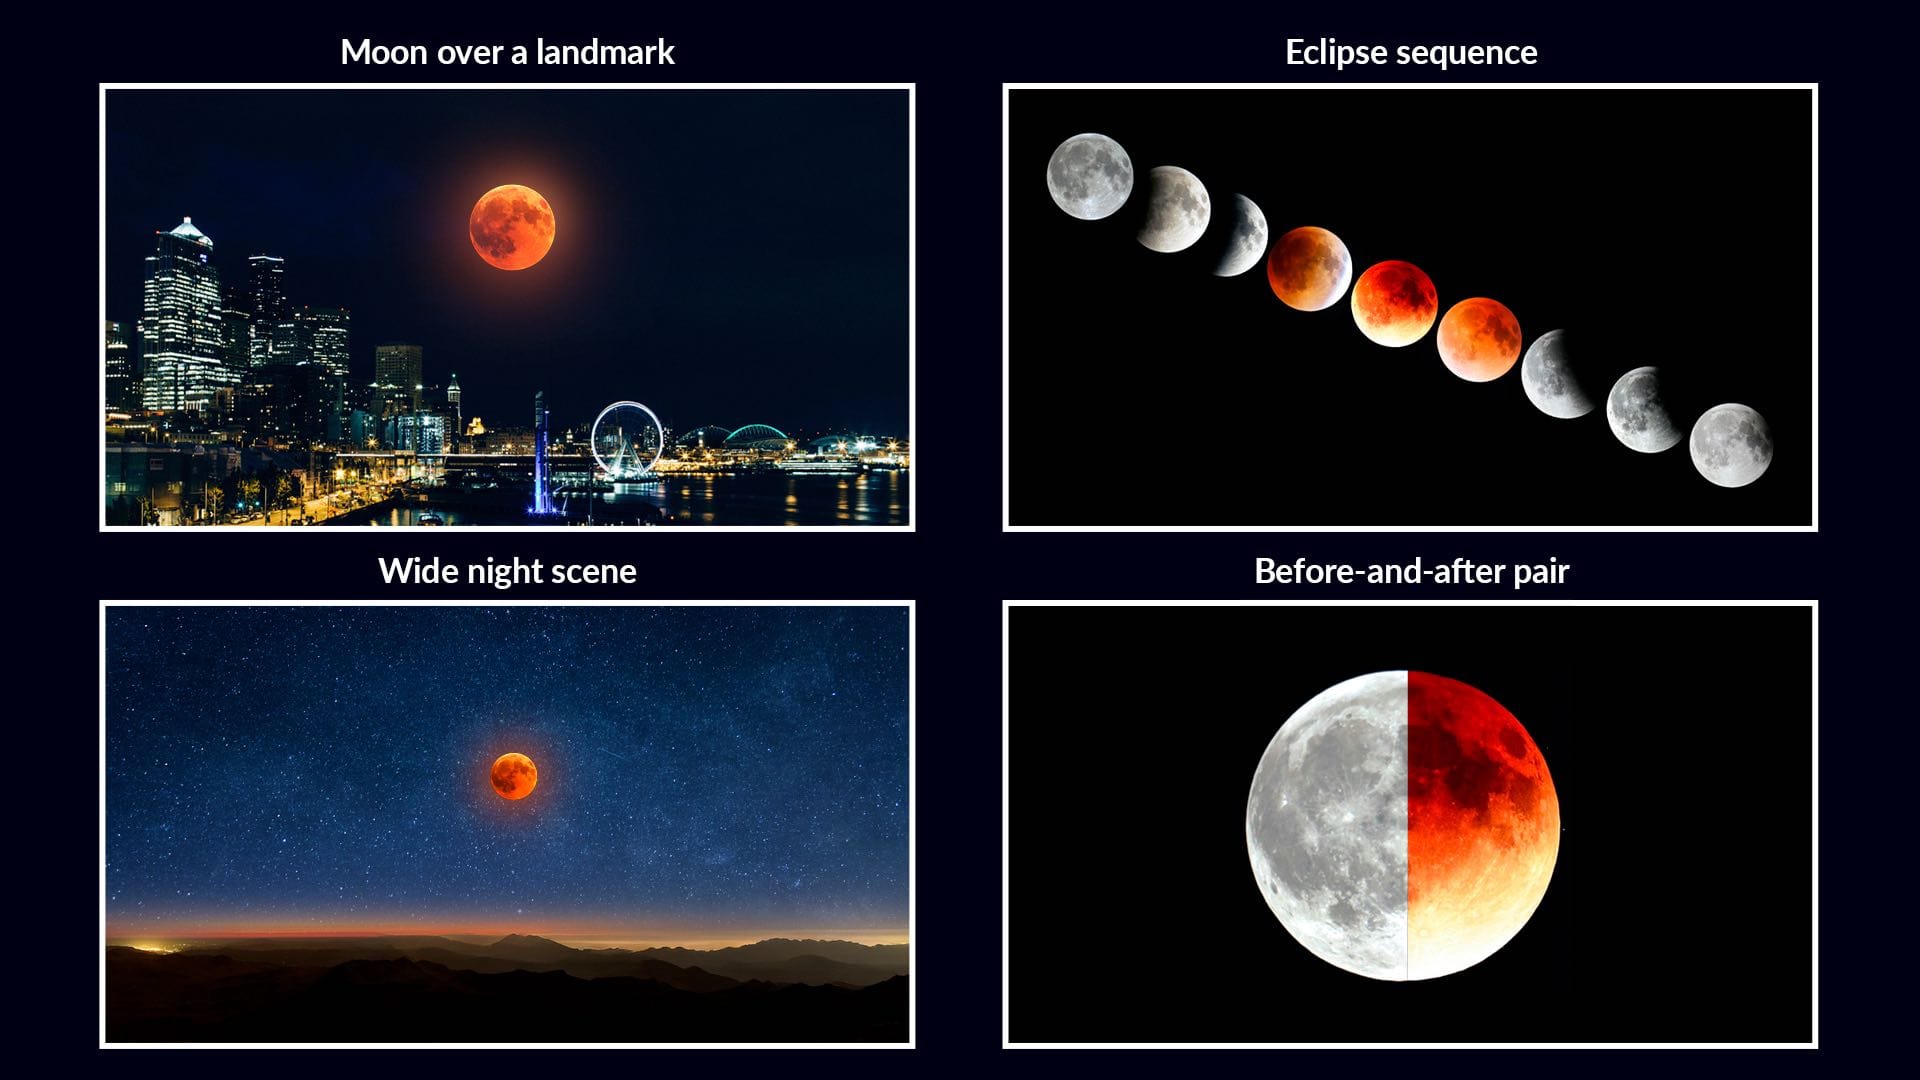
A close-up of the eclipsed Moon is beautiful, but it isn’t the only option.
Try these ideas:
- Moon over a landmark: Plan a shot with the eclipsed Moon above a tower, bridge, mountain, or skyline.
- Eclipse sequence: Take a photo every 5–10 minutes and combine the images into one timeline. If you combine multiple Moon positions, exposures, or a separately photographed foreground, describe the final result as a composite image.
- Wide night scene: Use a shorter lens to show the Moon, stars, and landscape together.
- Before-and-after pair: Photograph the bright Full Moon before the eclipse and the dark red Moon near maximum eclipse.
How to Plan Your Lunar Eclipse Photo
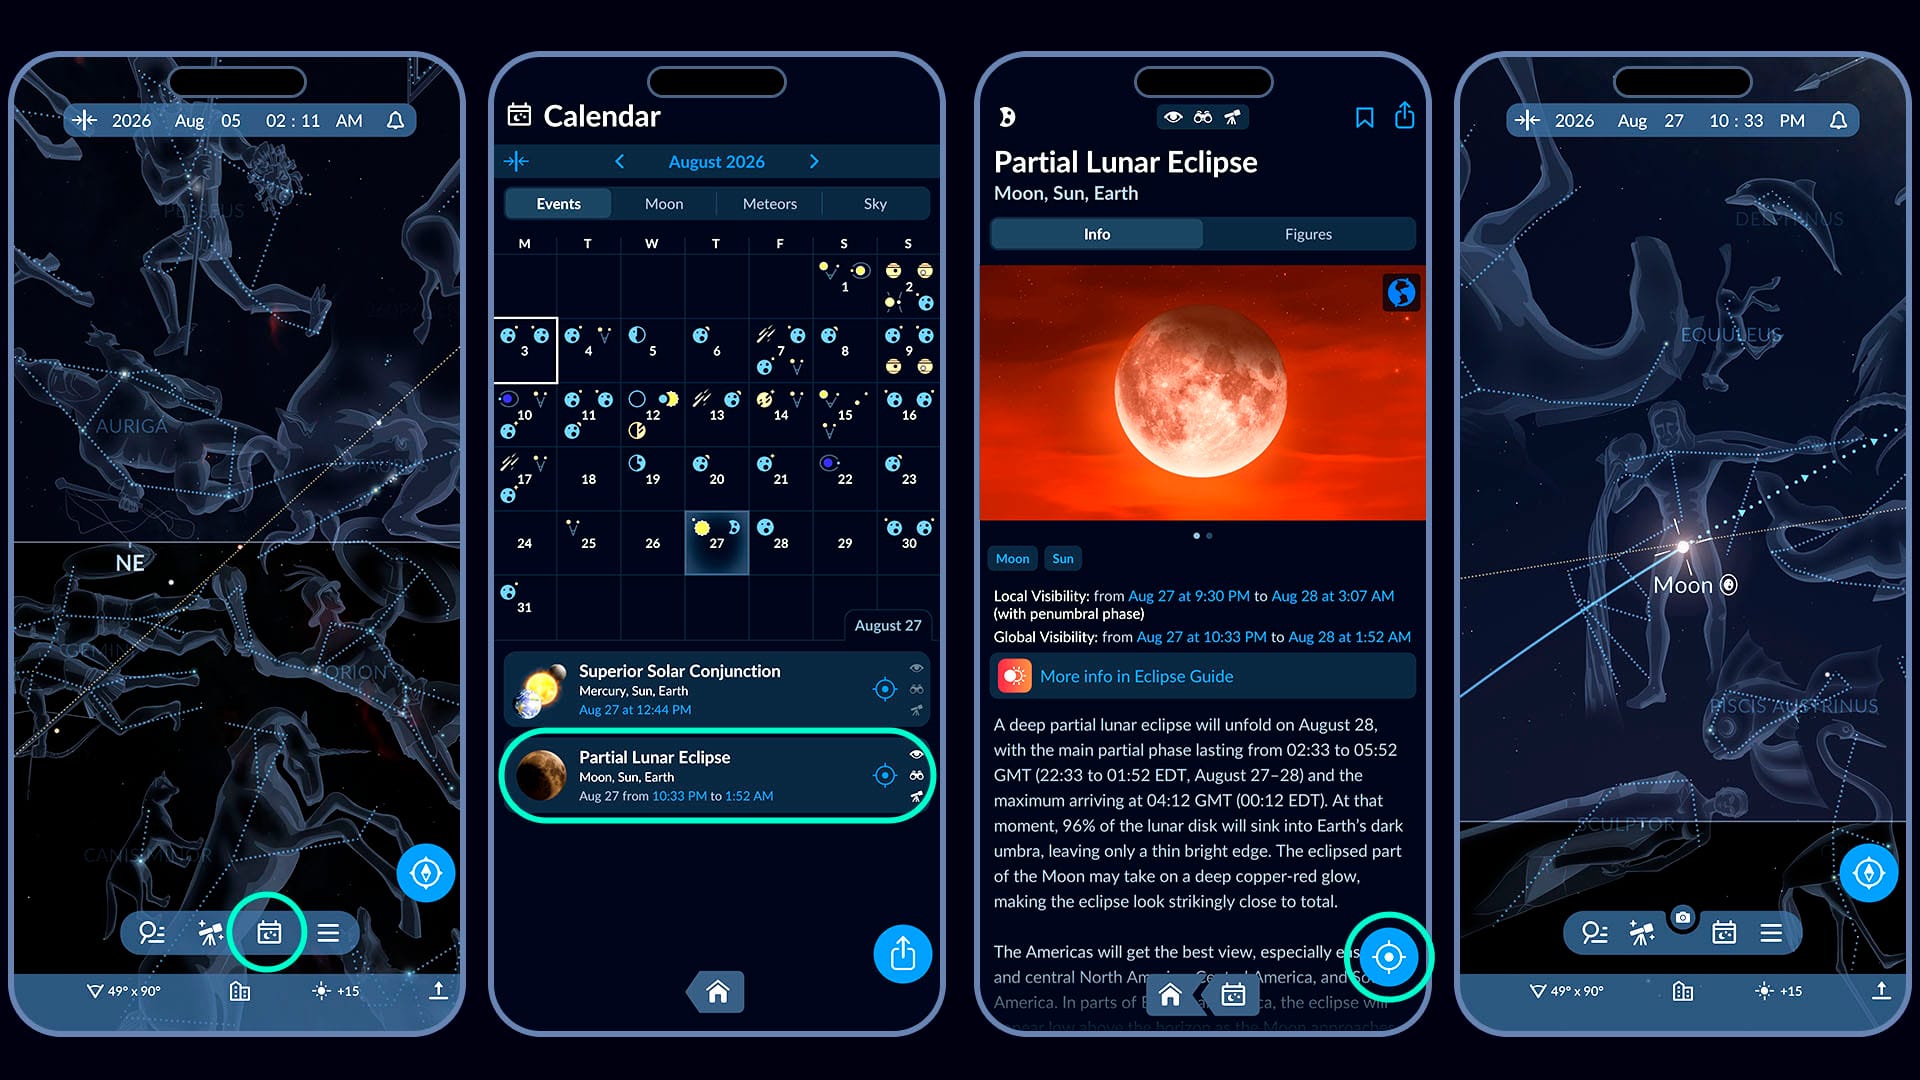
Start planning before the eclipse night. You need to know not just the eclipse time, but also where the Moon will be in your sky.
The easiest way is to use Sky Tonight:
- Tap the Calendar icon and find the lunar eclipse.
- Open the event to see whether it is visible from your location.
- Check the Moon’s altitude and direction during the main phases, as well as the local timing.
- Tap the blue target icon to see exactly where the Moon will appear in the real sky above you. Raise your phone and follow the on-screen guide to point it in the right direction.
- Tap the blue shutter icon to switch to AR mode. The app will overlay the sky map on your real surroundings, helping you preview the Moon’s position and plan your composition with buildings, trees, or other foreground objects.
- Set a reminder so you don’t miss the beginning of the partial or total phase.
If the Moon will be low above the horizon, choose a place with an open view. Low Moon shots can look very dramatic with buildings or landscapes, but the atmosphere may soften the image. If you want sharper lunar detail, photograph the Moon when it is higher in the sky.
Lunar Eclipse Photography: Common Mistakes
Using Automatic Mode
Auto mode often overexposes the bright Moon and underexposes the eclipsed Moon. Use manual mode or manual exposure controls whenever possible.
Not Checking Focus
Autofocus may work while the Moon is bright, then fail during totality. Focus early and lock it.
Not Bracketing Exposures
The Moon changes brightness throughout the eclipse. Take several shots at different shutter speeds so you don’t lose the best moment.
Expecting Smartphone Close-Ups to Look Like Telescope Photos
Phones are great for mood and composition. For detailed lunar texture, you need optical zoom, a telephoto lens, or a telescope.
How to Photograph a Lunar Eclipse: Frequently Asked Questions
Can I Photograph a Lunar Eclipse with a Phone?
Yes. A phone works best for wide scenic shots with the Moon above a landscape, skyline, trees, or water. Stabilize the phone, turn off the flash, and reduce the exposure during the bright phases. As the Moon moves deeper into Earth’s shadow, gradually increase the exposure while checking for blur.
Do I Need a Special Filter for a Lunar Eclipse?
No. Unlike a solar eclipse, a lunar eclipse is safe to view and photograph without special eye protection or solar filters.
What Lens Is Best for Lunar Eclipse Photography?
A 200 mm lens is a workable minimum, especially on a crop-sensor camera, but the Moon will remain relatively small in the frame. For a more prominent lunar disk, use a 300–600 mm full-frame-equivalent focal length.
What Are the Best Camera Settings for a Lunar Eclipse?
For the bright Moon, start around ISO 100, f/8, and 1/250 sec, then bracket at approximately 1/125, 1/250, and 1/500 sec. During totality, when the Moon gets dimmer, try ISO 800–1600, f/4 to f/5.6, and about 1/4 sec as a starting point. Exact settings depend on the eclipse brightness, focal length, and camera, so check the histogram and bracket your shots.
Why Is My Lunar Eclipse Photo Blurry?
The most common reasons are camera shake, missed focus, a shutter speed that is too slow, or the Moon being low in the atmosphere. Use a tripod, timer, manual focus, and take multiple test shots.
Can I Photograph a Lunar Eclipse Without a Tripod?
You can try, especially with a phone or wide lens, but a tripod or stable support makes a big difference. For telephoto shots, a tripod is strongly recommended.
Lunar Eclipse Photography: Bottom Line
To photograph a lunar eclipse, plan the local timing first, check whether the Moon will be above your horizon, and use Sky Tonight to follow its path. A smartphone is enough for scenic shots, while a 200–300 mm lens or longer is better for lunar detail. Use a tripod, focus early, shoot in manual mode, and keep changing exposure as the Moon darkens.
Test Your Lunar Eclipse Photography Skills on August 27–28, 2026
Now that you know how to plan the shot, choose your gear, and adjust your camera settings, you’re probably eager to try these tips in practice. The partial lunar eclipse on August 27–28, 2026, is a great opportunity to do just that. Find out where the eclipse will be visible, when its main phases will occur, and how to watch it from your location.
Read the guide: Lunar Eclipse on August 27–28, 2026
Plan Ahead for the Next Eclipses
The August 27–28 eclipse is only one of several eclipses coming up. Explore our infographic to see the dates, types, and visibility areas of the upcoming eclipses — and start planning your future photo sessions!
See the infographic: Next 5 Eclipses